


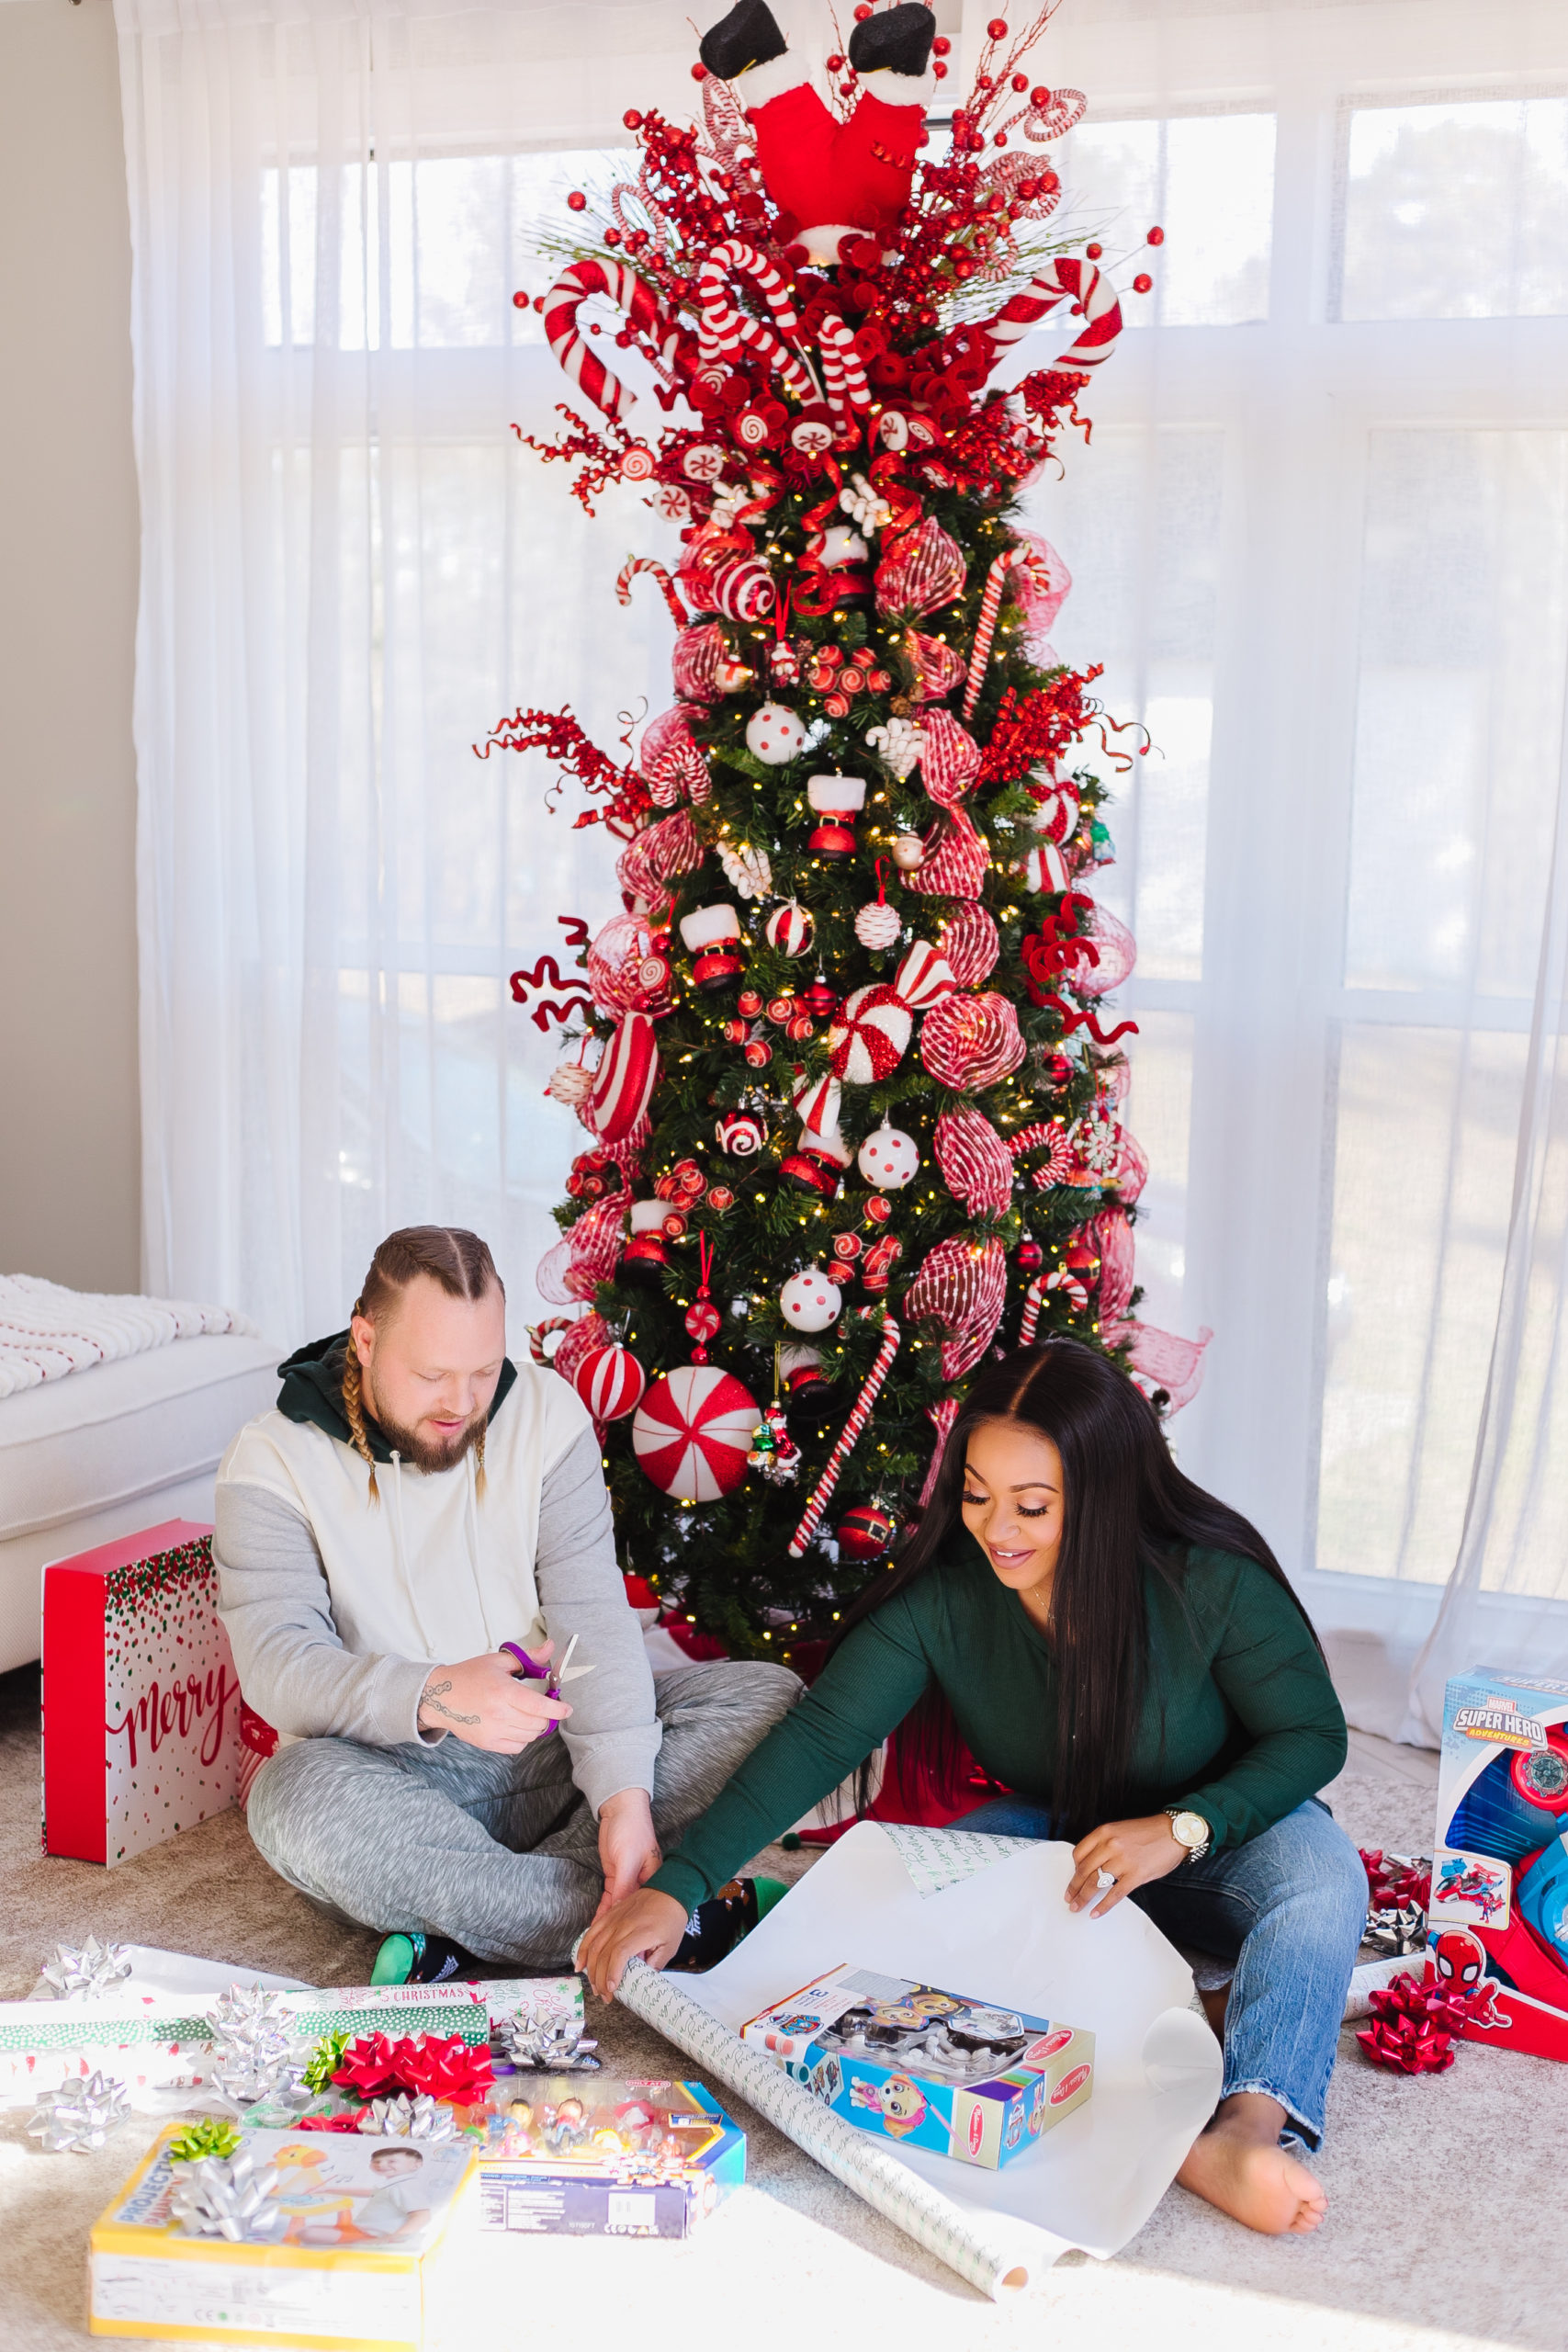
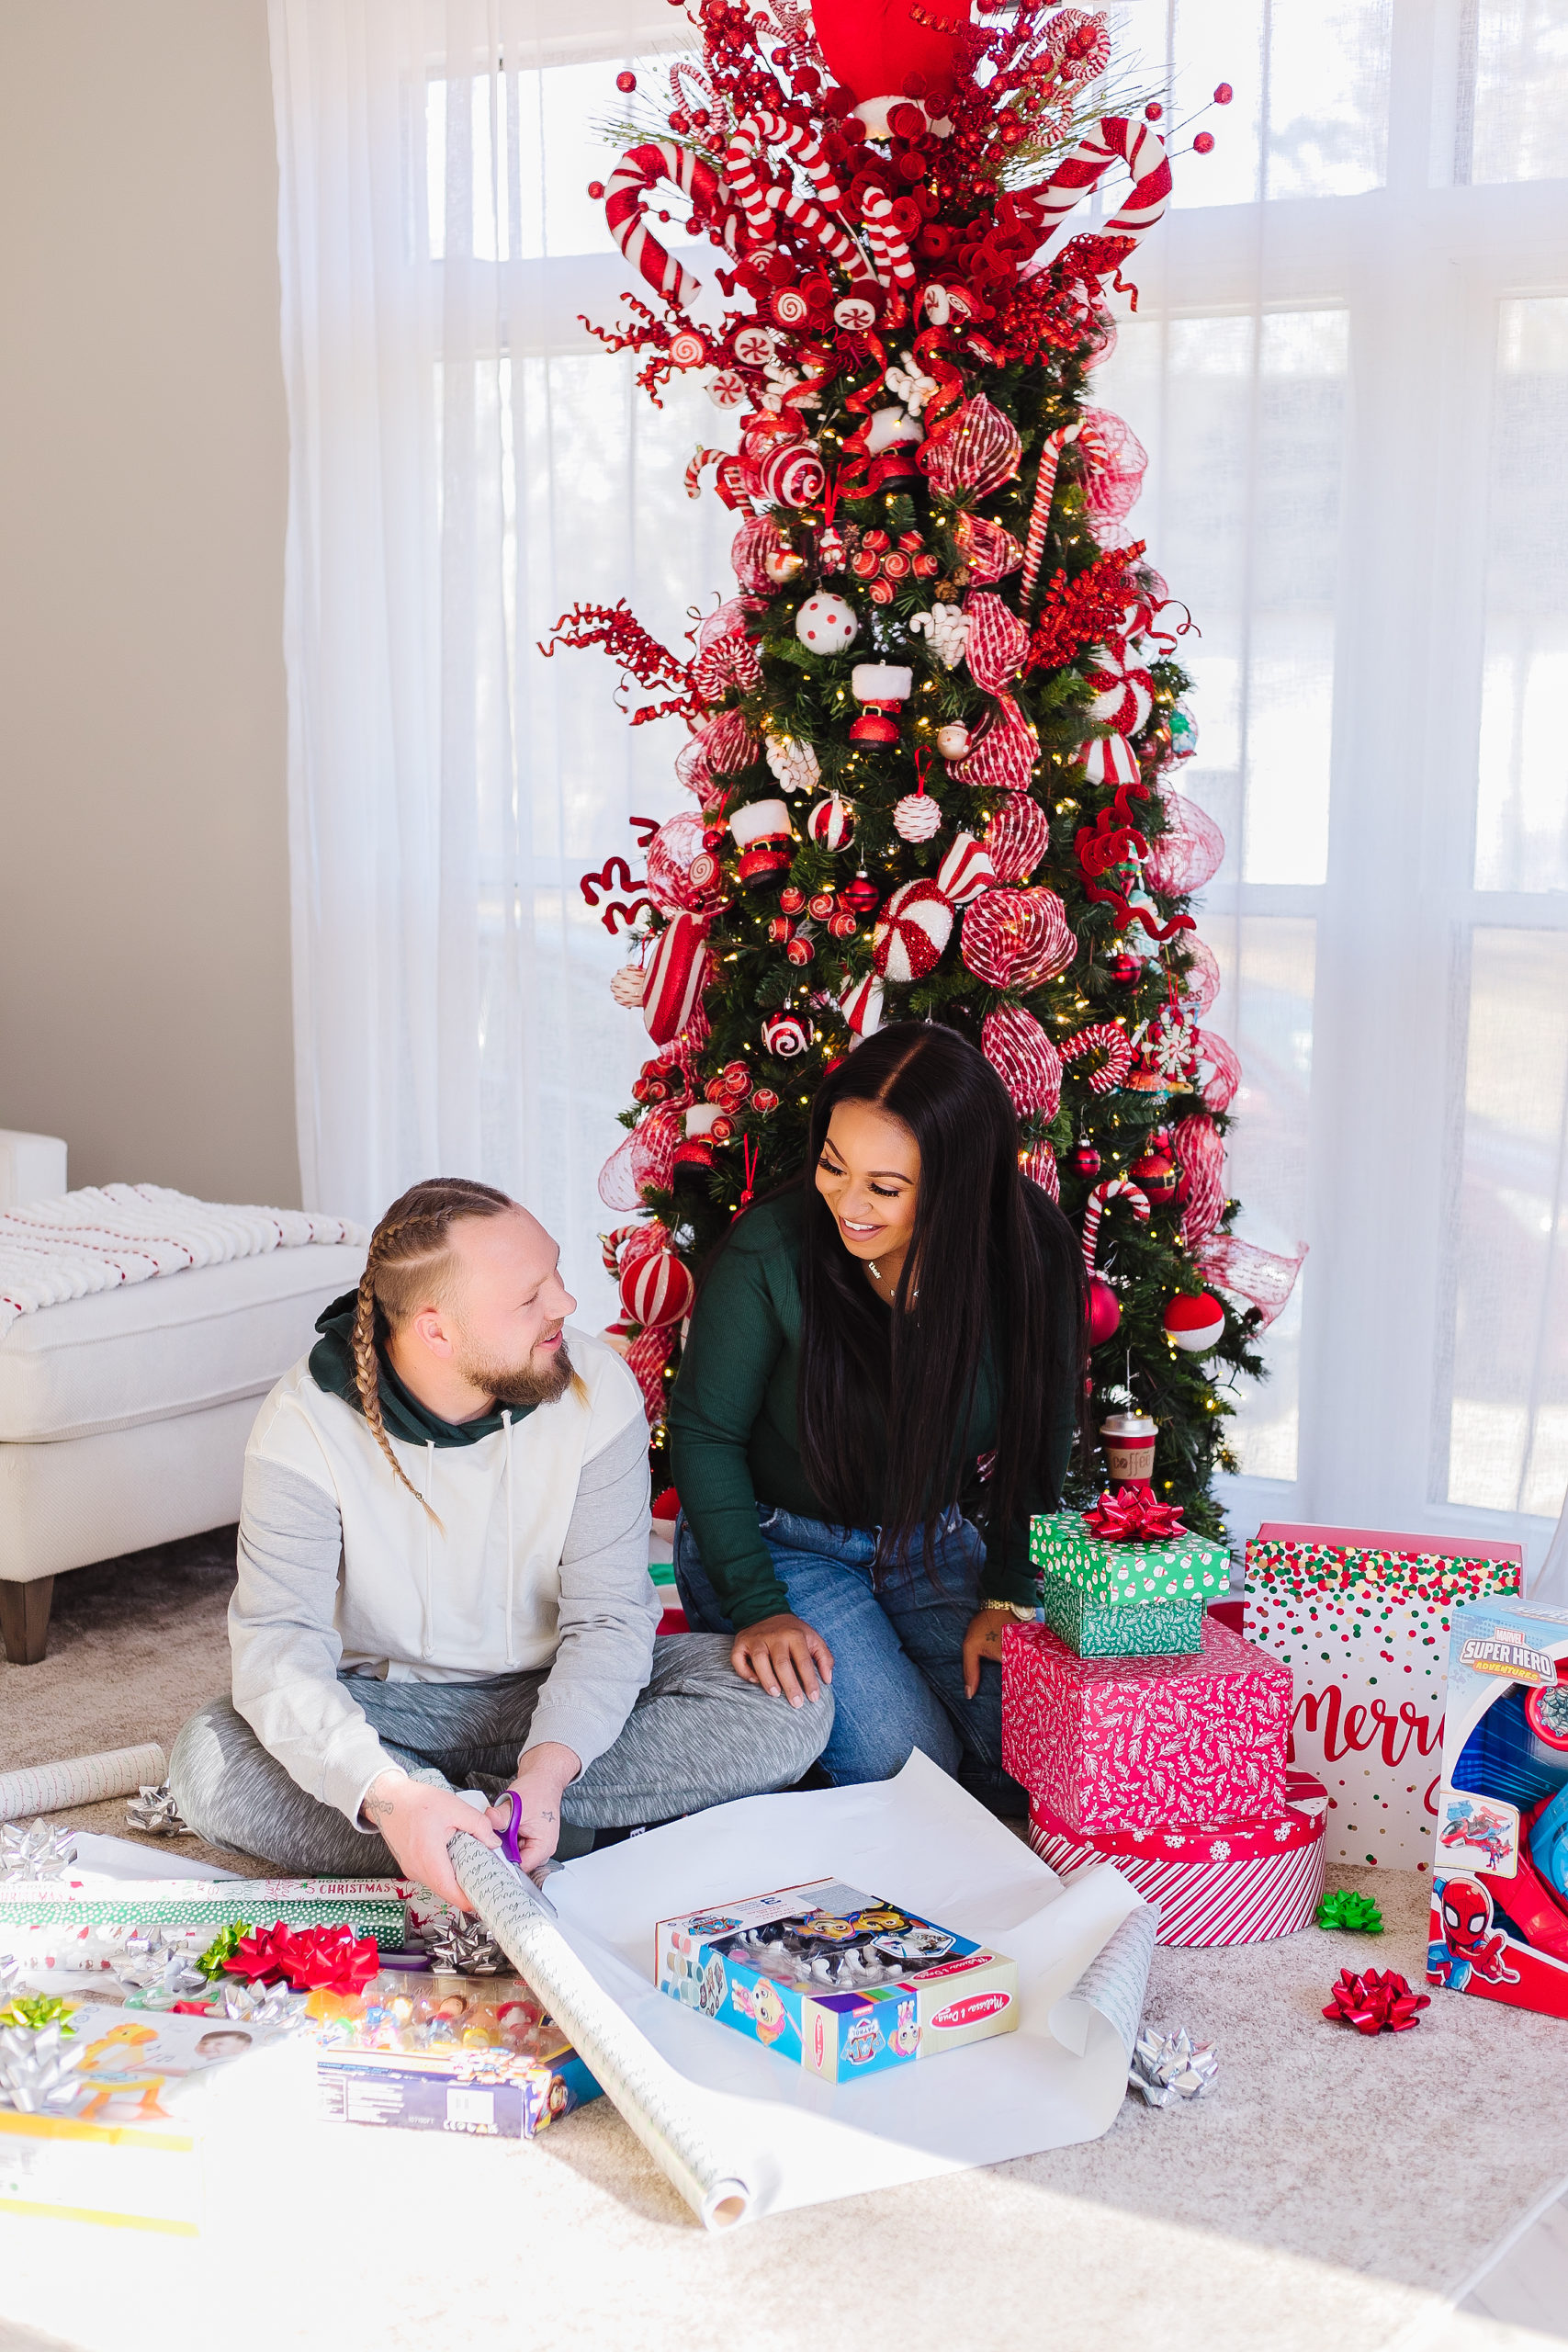
One of my favorite parts of the holiday season (other than decorating and spending time with family is gift-giving. There’s something so special about finding the perfect gift for a loved one and watching them open it. I guess you could say gift-giving is one of my love languages! Whether you’re getting ready to wrap gifts this holiday season or just need some pointers for upping your gift-wrapping game, I’ve got you covered!
How to Wrap Gifts Like a Pro
Wrapping gifts is no easy feat! And if you have a lot of wrapping to get done like I do, you know how easy it is to start getting sloppy the more gifts you wrap. With my tips and a few essentials, you’ll not only be able to wrap gifts like a pro, but it’ll be easier!
Gift Wrapping Essentials
Before we get started with how to wrap your gifts like a pro, you’ll need some gift-wrapping essentials. I like to keep a back stock of these items so that I don’t have to worry about running to the store to grab supplies or worry about running out of things while I’m in the midst of wrapping gifts.
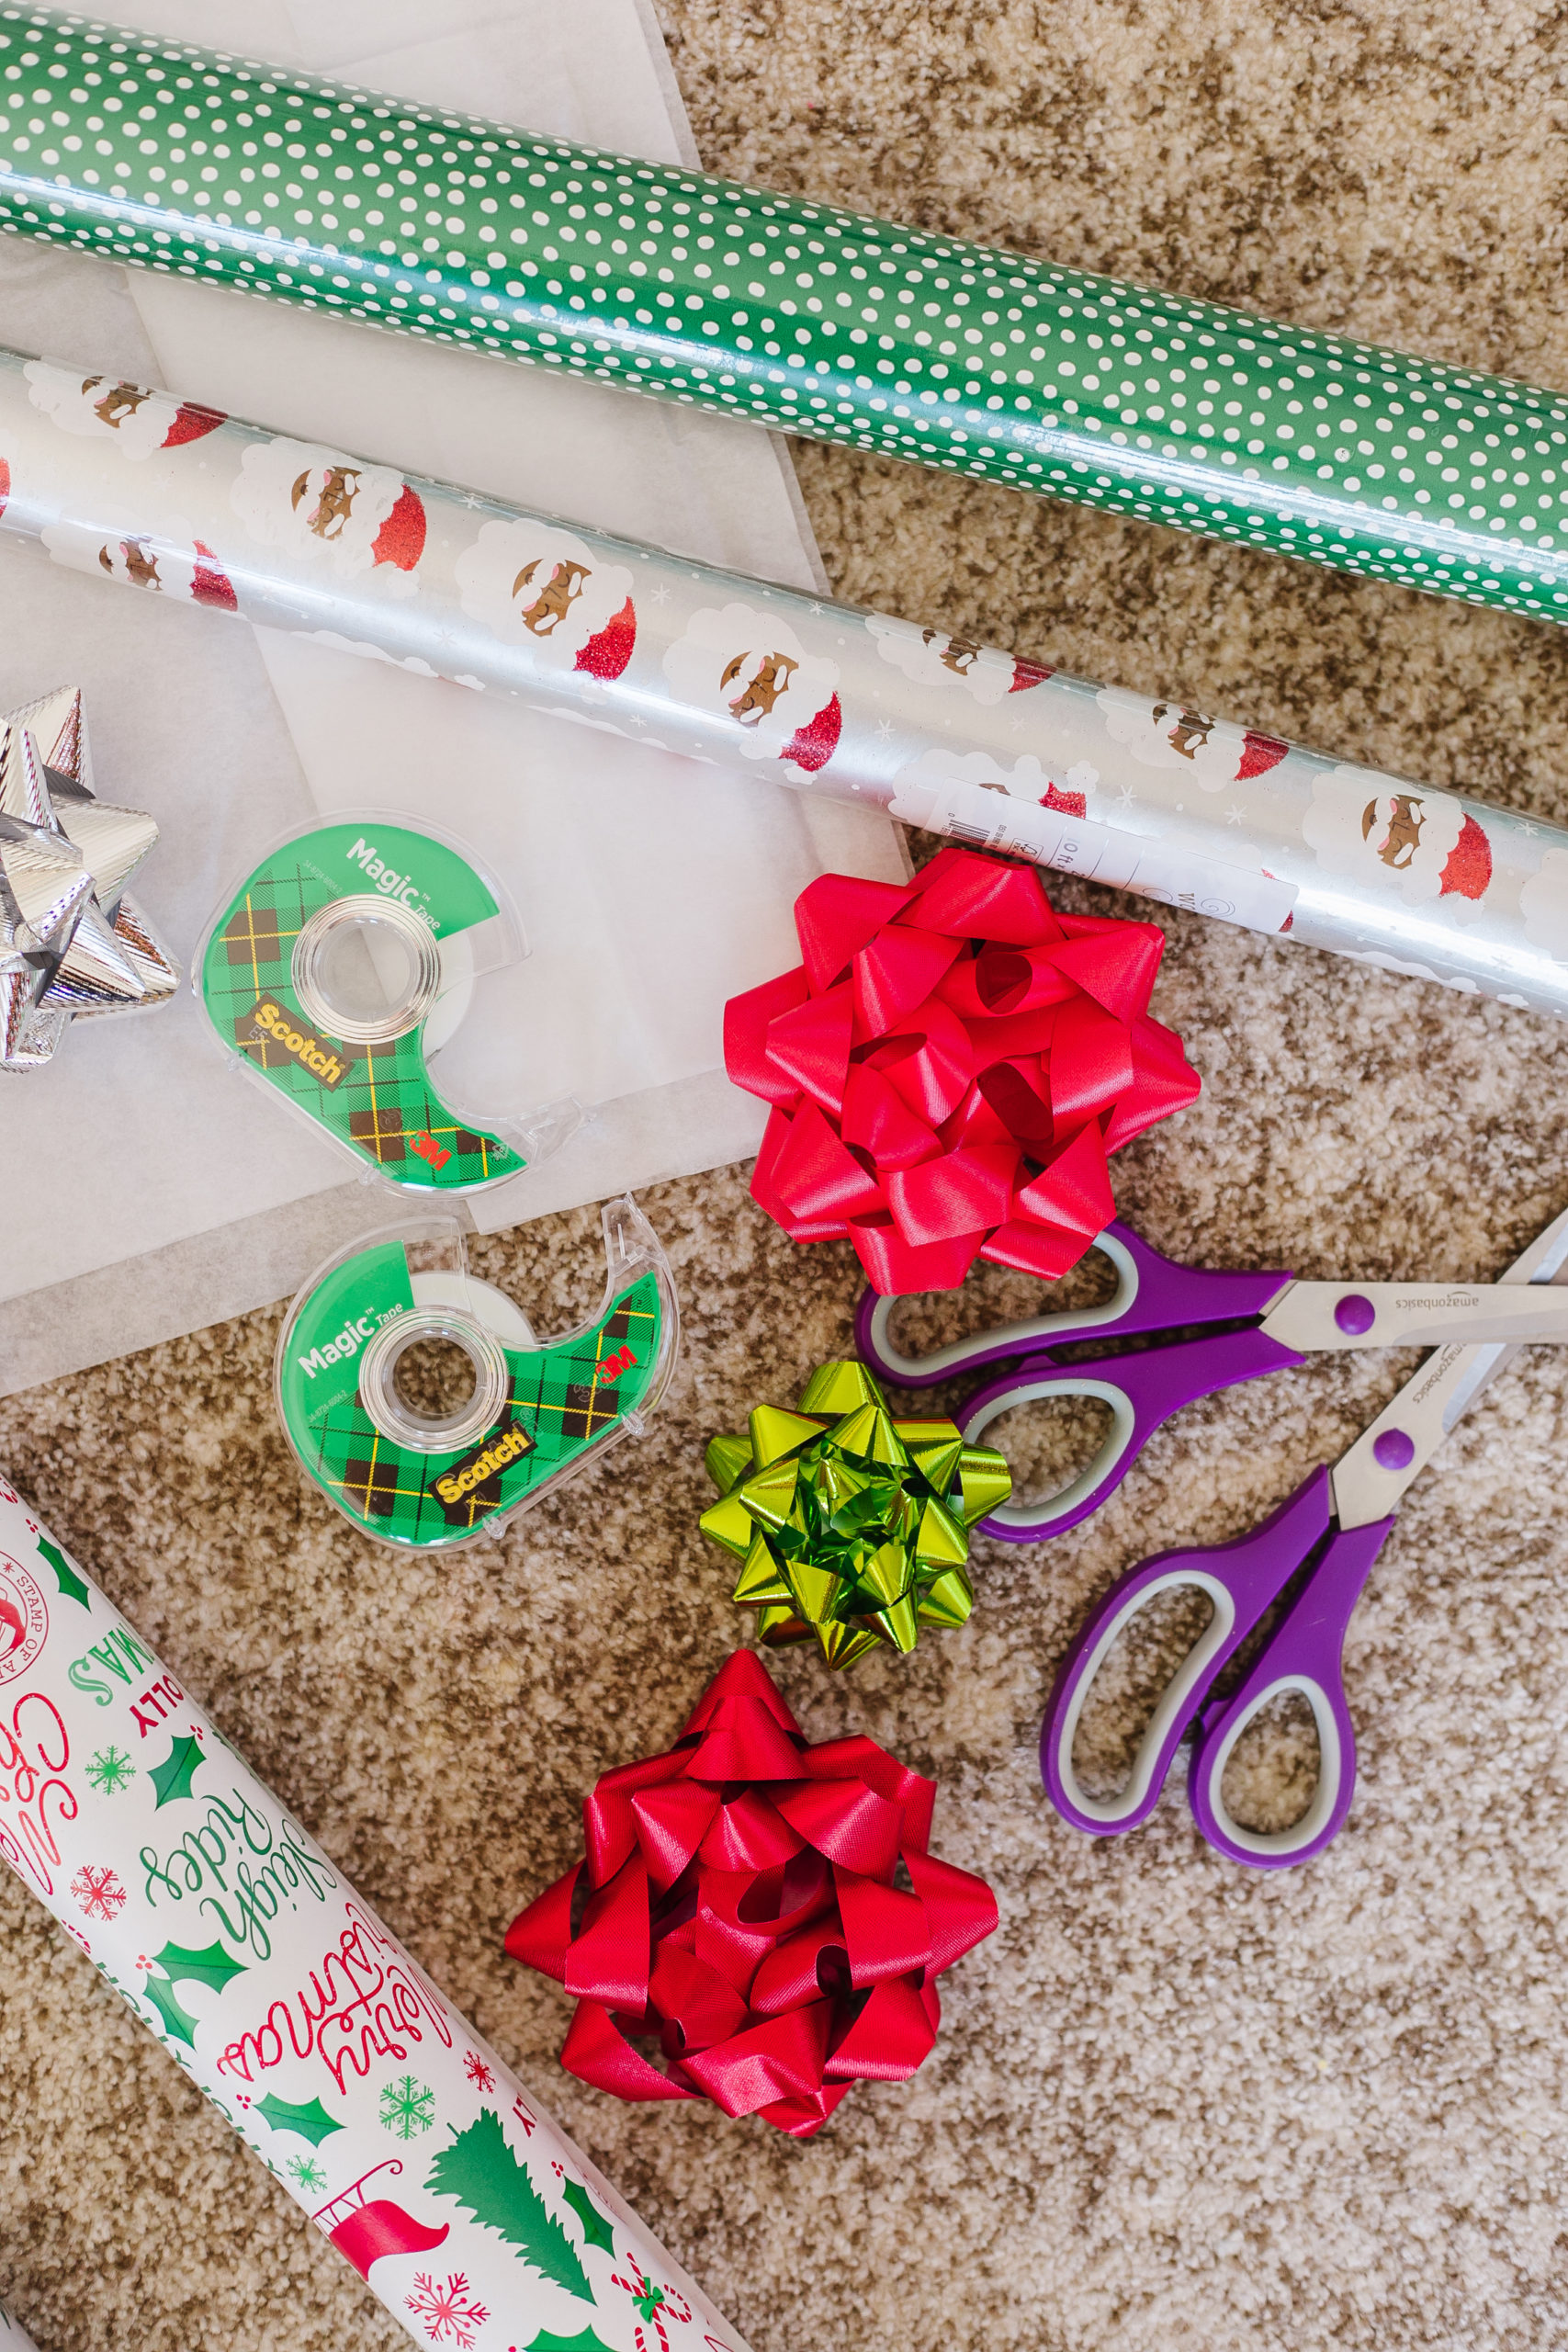
Here’s what you’ll need:
- Gift boxes in various sizes
- Curling ribbon in basic colors (think green, red, white)
- Tissue paper
- Gift bags
- Wrapping paper
- Gift tags
- Bows
- Scissors
- Tape

Gift Wrapping Tips
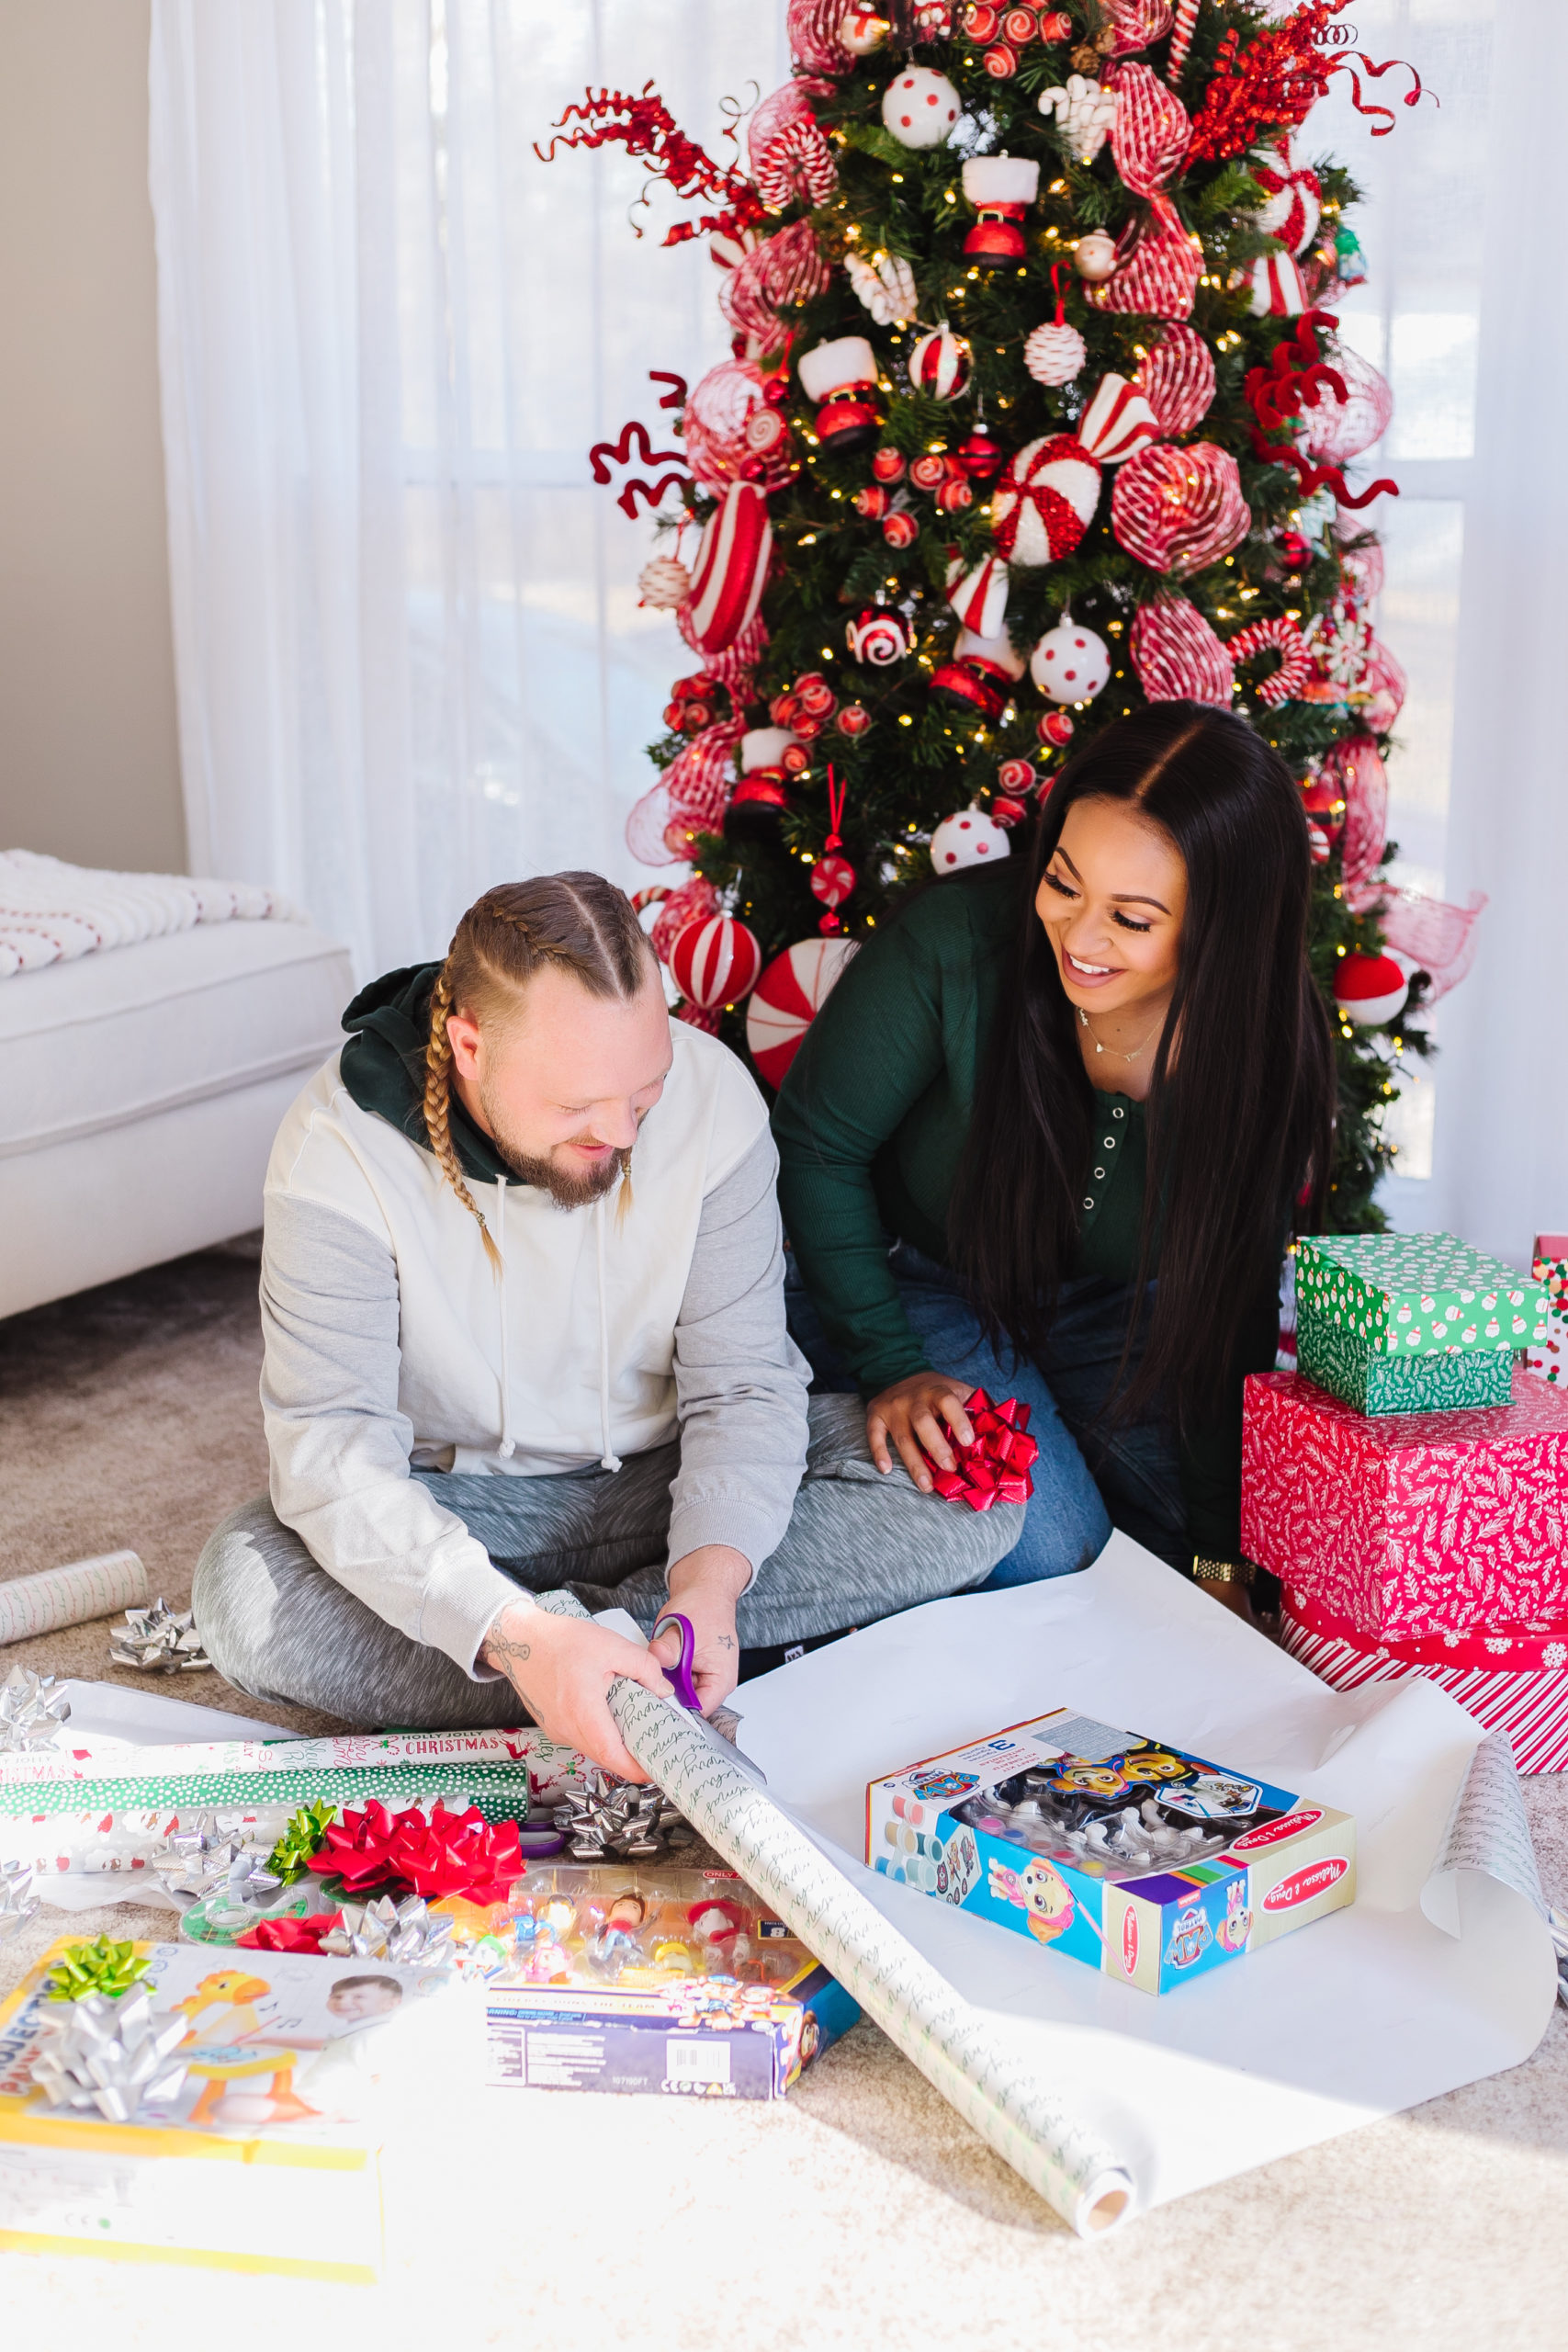
1. Secure fragile items and soft, irregular shape items within boxes. This is where your gift boxes are going to come in handy! Once your items are secured in gift boxes, use a piece of tape to keep the box closed.
2. Measure the correct amount of wrapping paper. Roll out your wrapping paper and place your box/gifted item in the center of the wrapping paper, upside down, so the seams end up on the bottom of the package. Don’t forget to estimate how much additional paper you’ll need to cover the sides of the box/gift that aren’t covered and make a long, even cut. If your edge is jagged, fold it under for a smooth seam!
3. Secure the wrapping paper. Once you have the correct amount of wrapping paper, you’ll want to center your gift on the paper and bring one side of the wrapping paper up and halfway across the top, affixing it to the box with a piece of tape.
4. Create a clean edge. Before bringing the second side of the wrapping paper up to cover the first, create a clean seam by folding over a half inch of the paper. To get a tight crease, use your fingers! Once you have a clean edge, bring the side up and overlap it over the first piece, and affix it with tape. For a clean look, use double-sided tape.
5. Fold the sides. Starting on one end, fold down the top flap onto the side of the box, creating two wings at the side. Flatten those wings up against the box and fold the triangle against the box before fastening it in place with tape. Once you’re done with the first side, repeat on the second side.
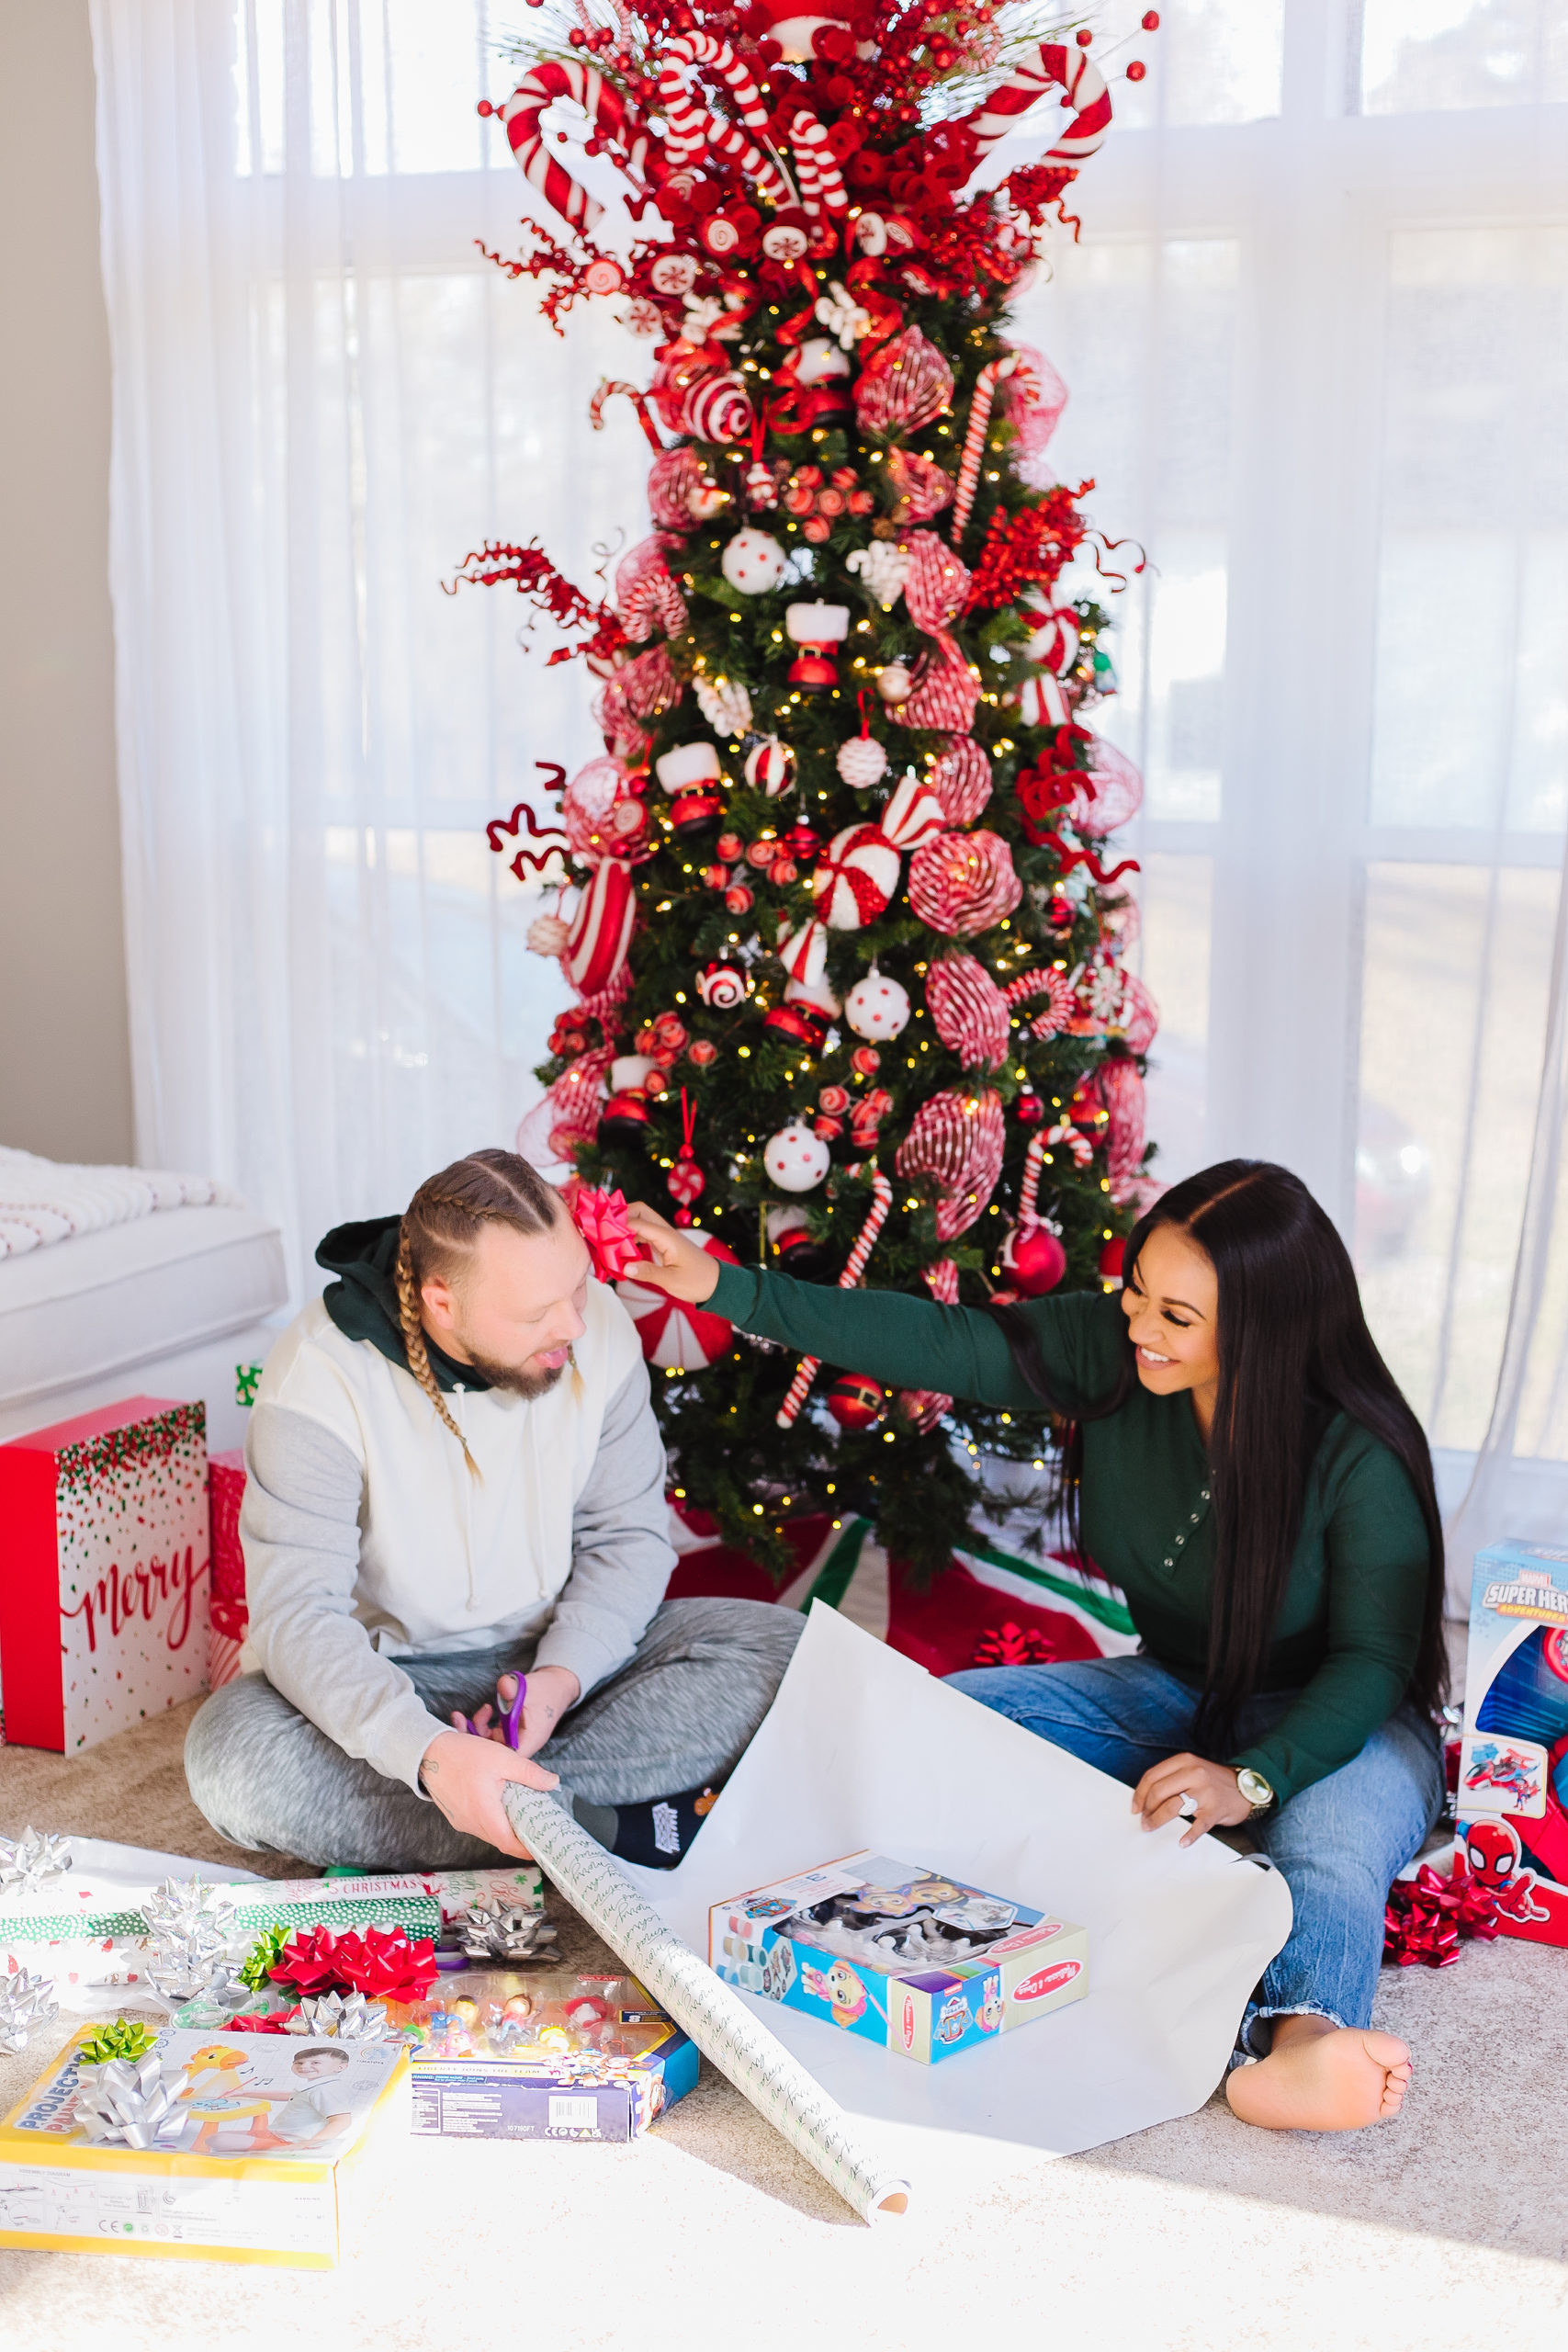
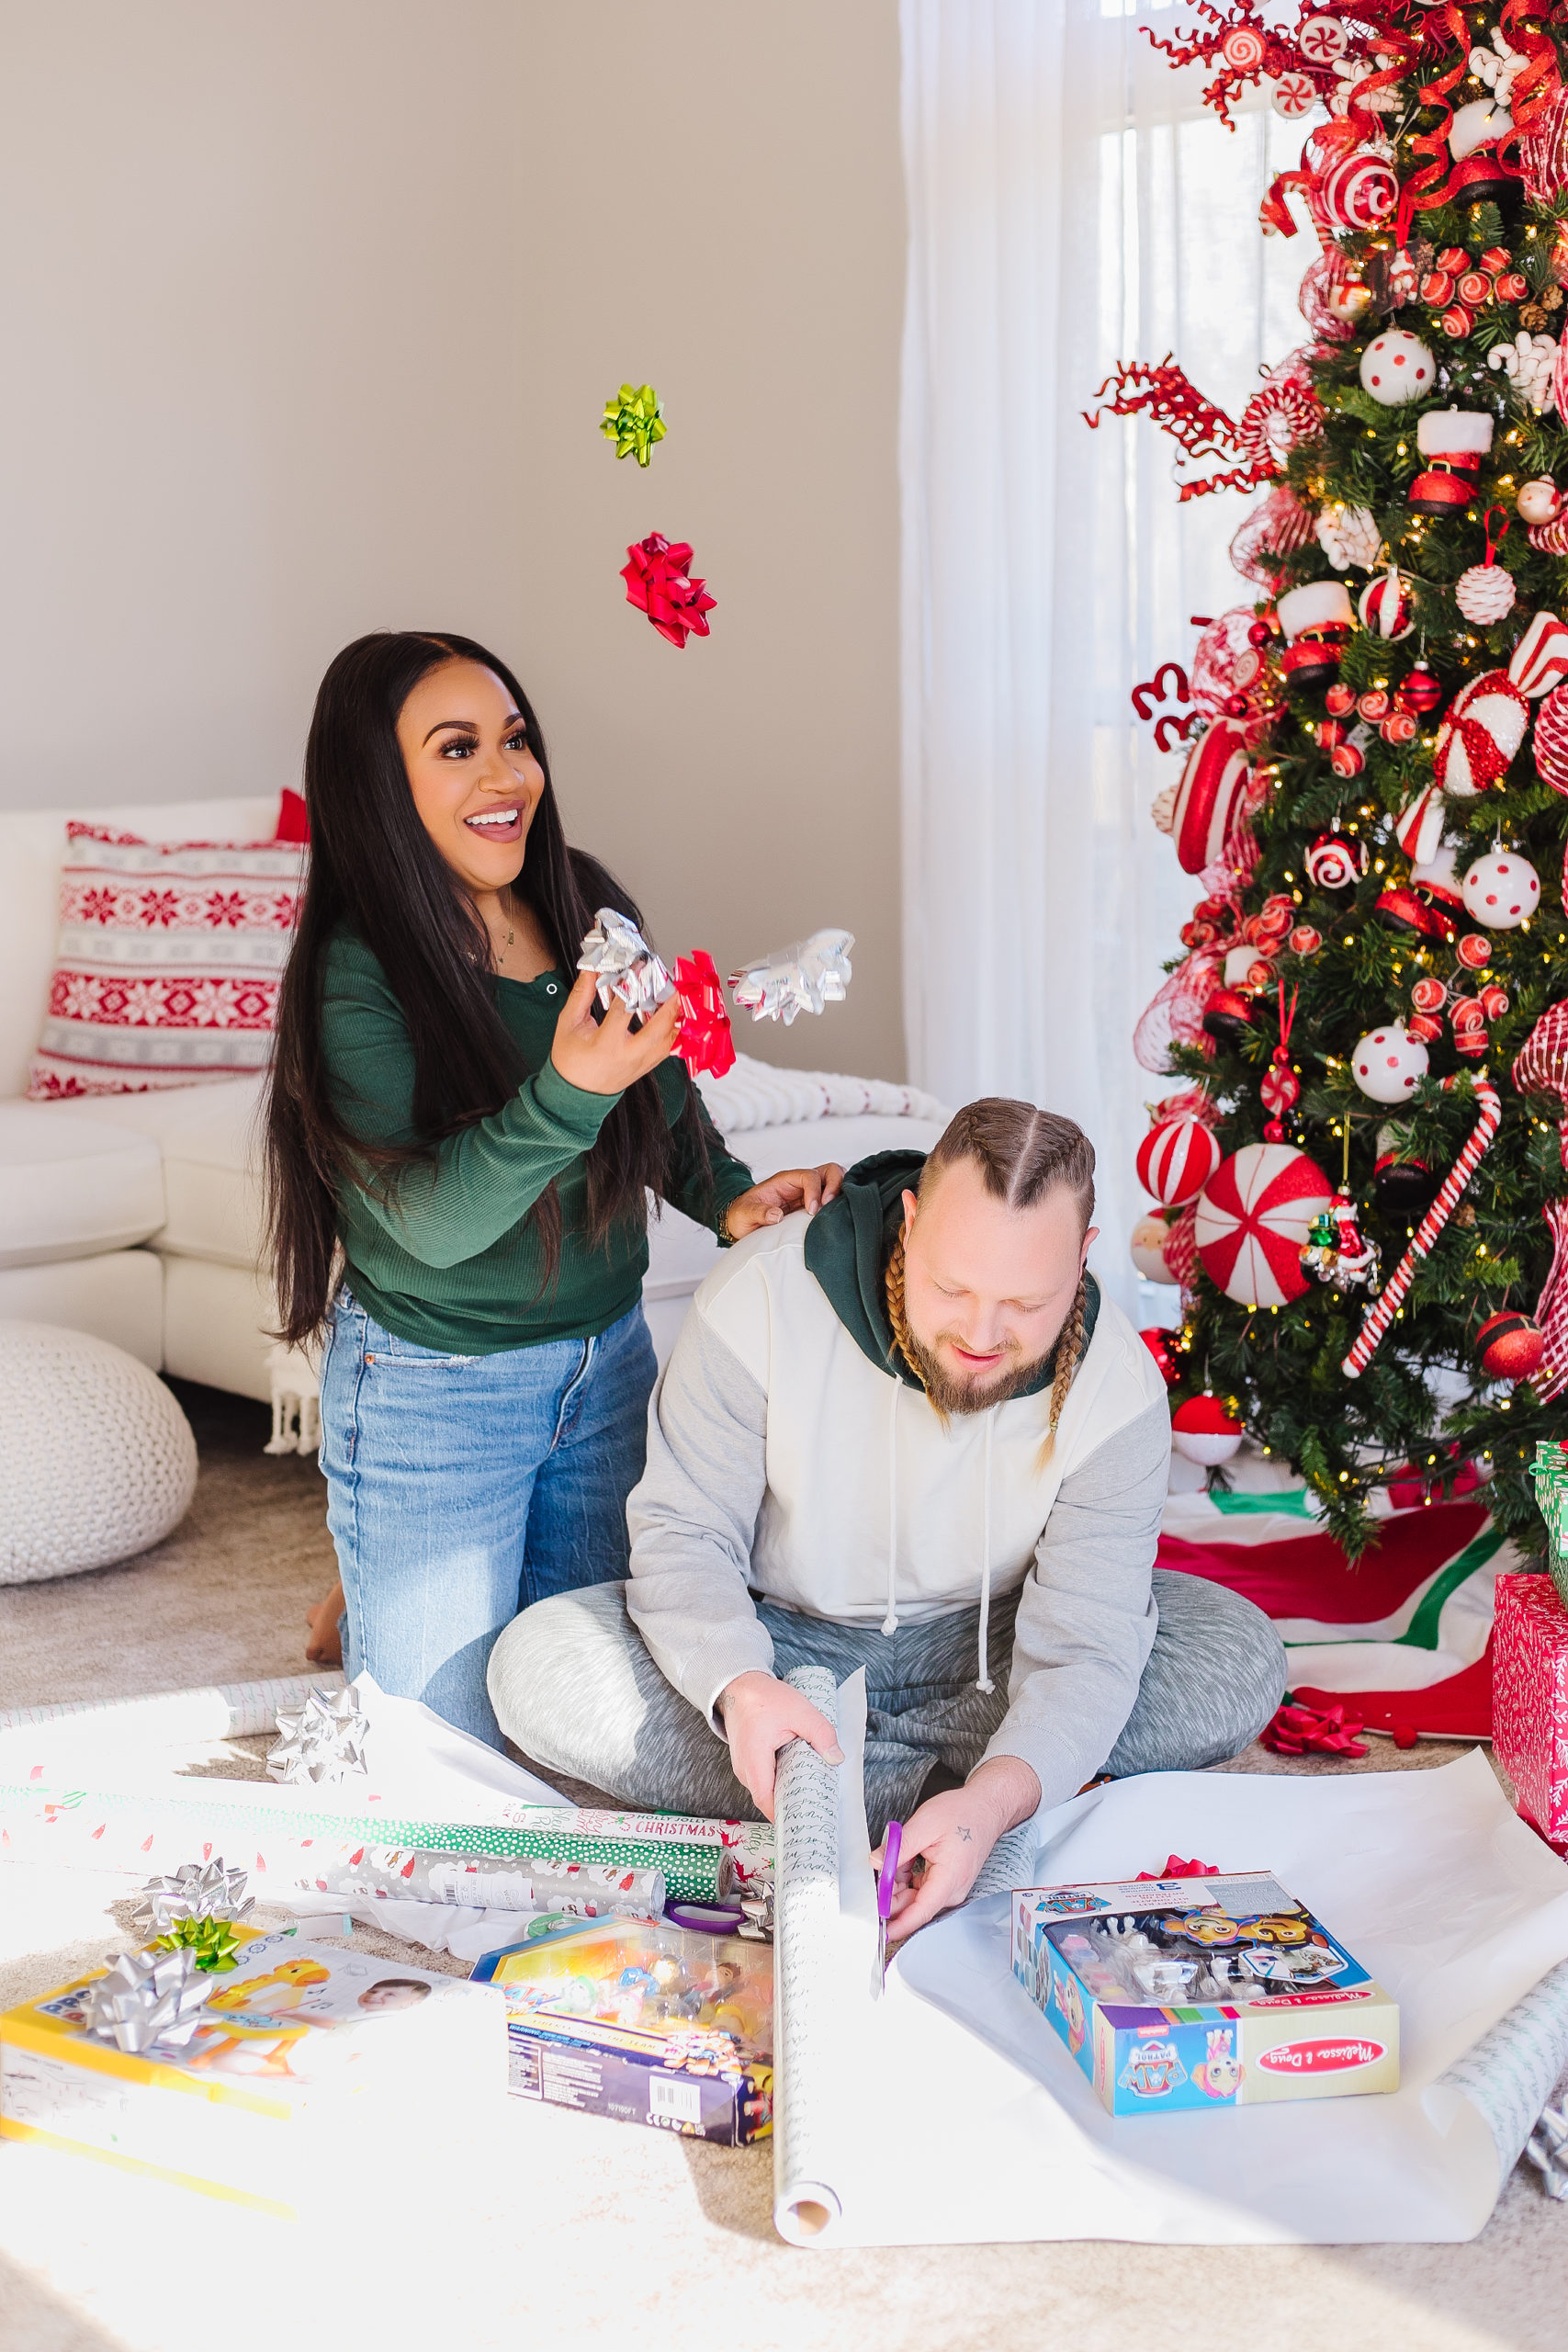
6. Add finishing touches. Once you’re done wrapping your gift, it’s time to add any finishing touches! This includes ribbons, bows, and gift tags!
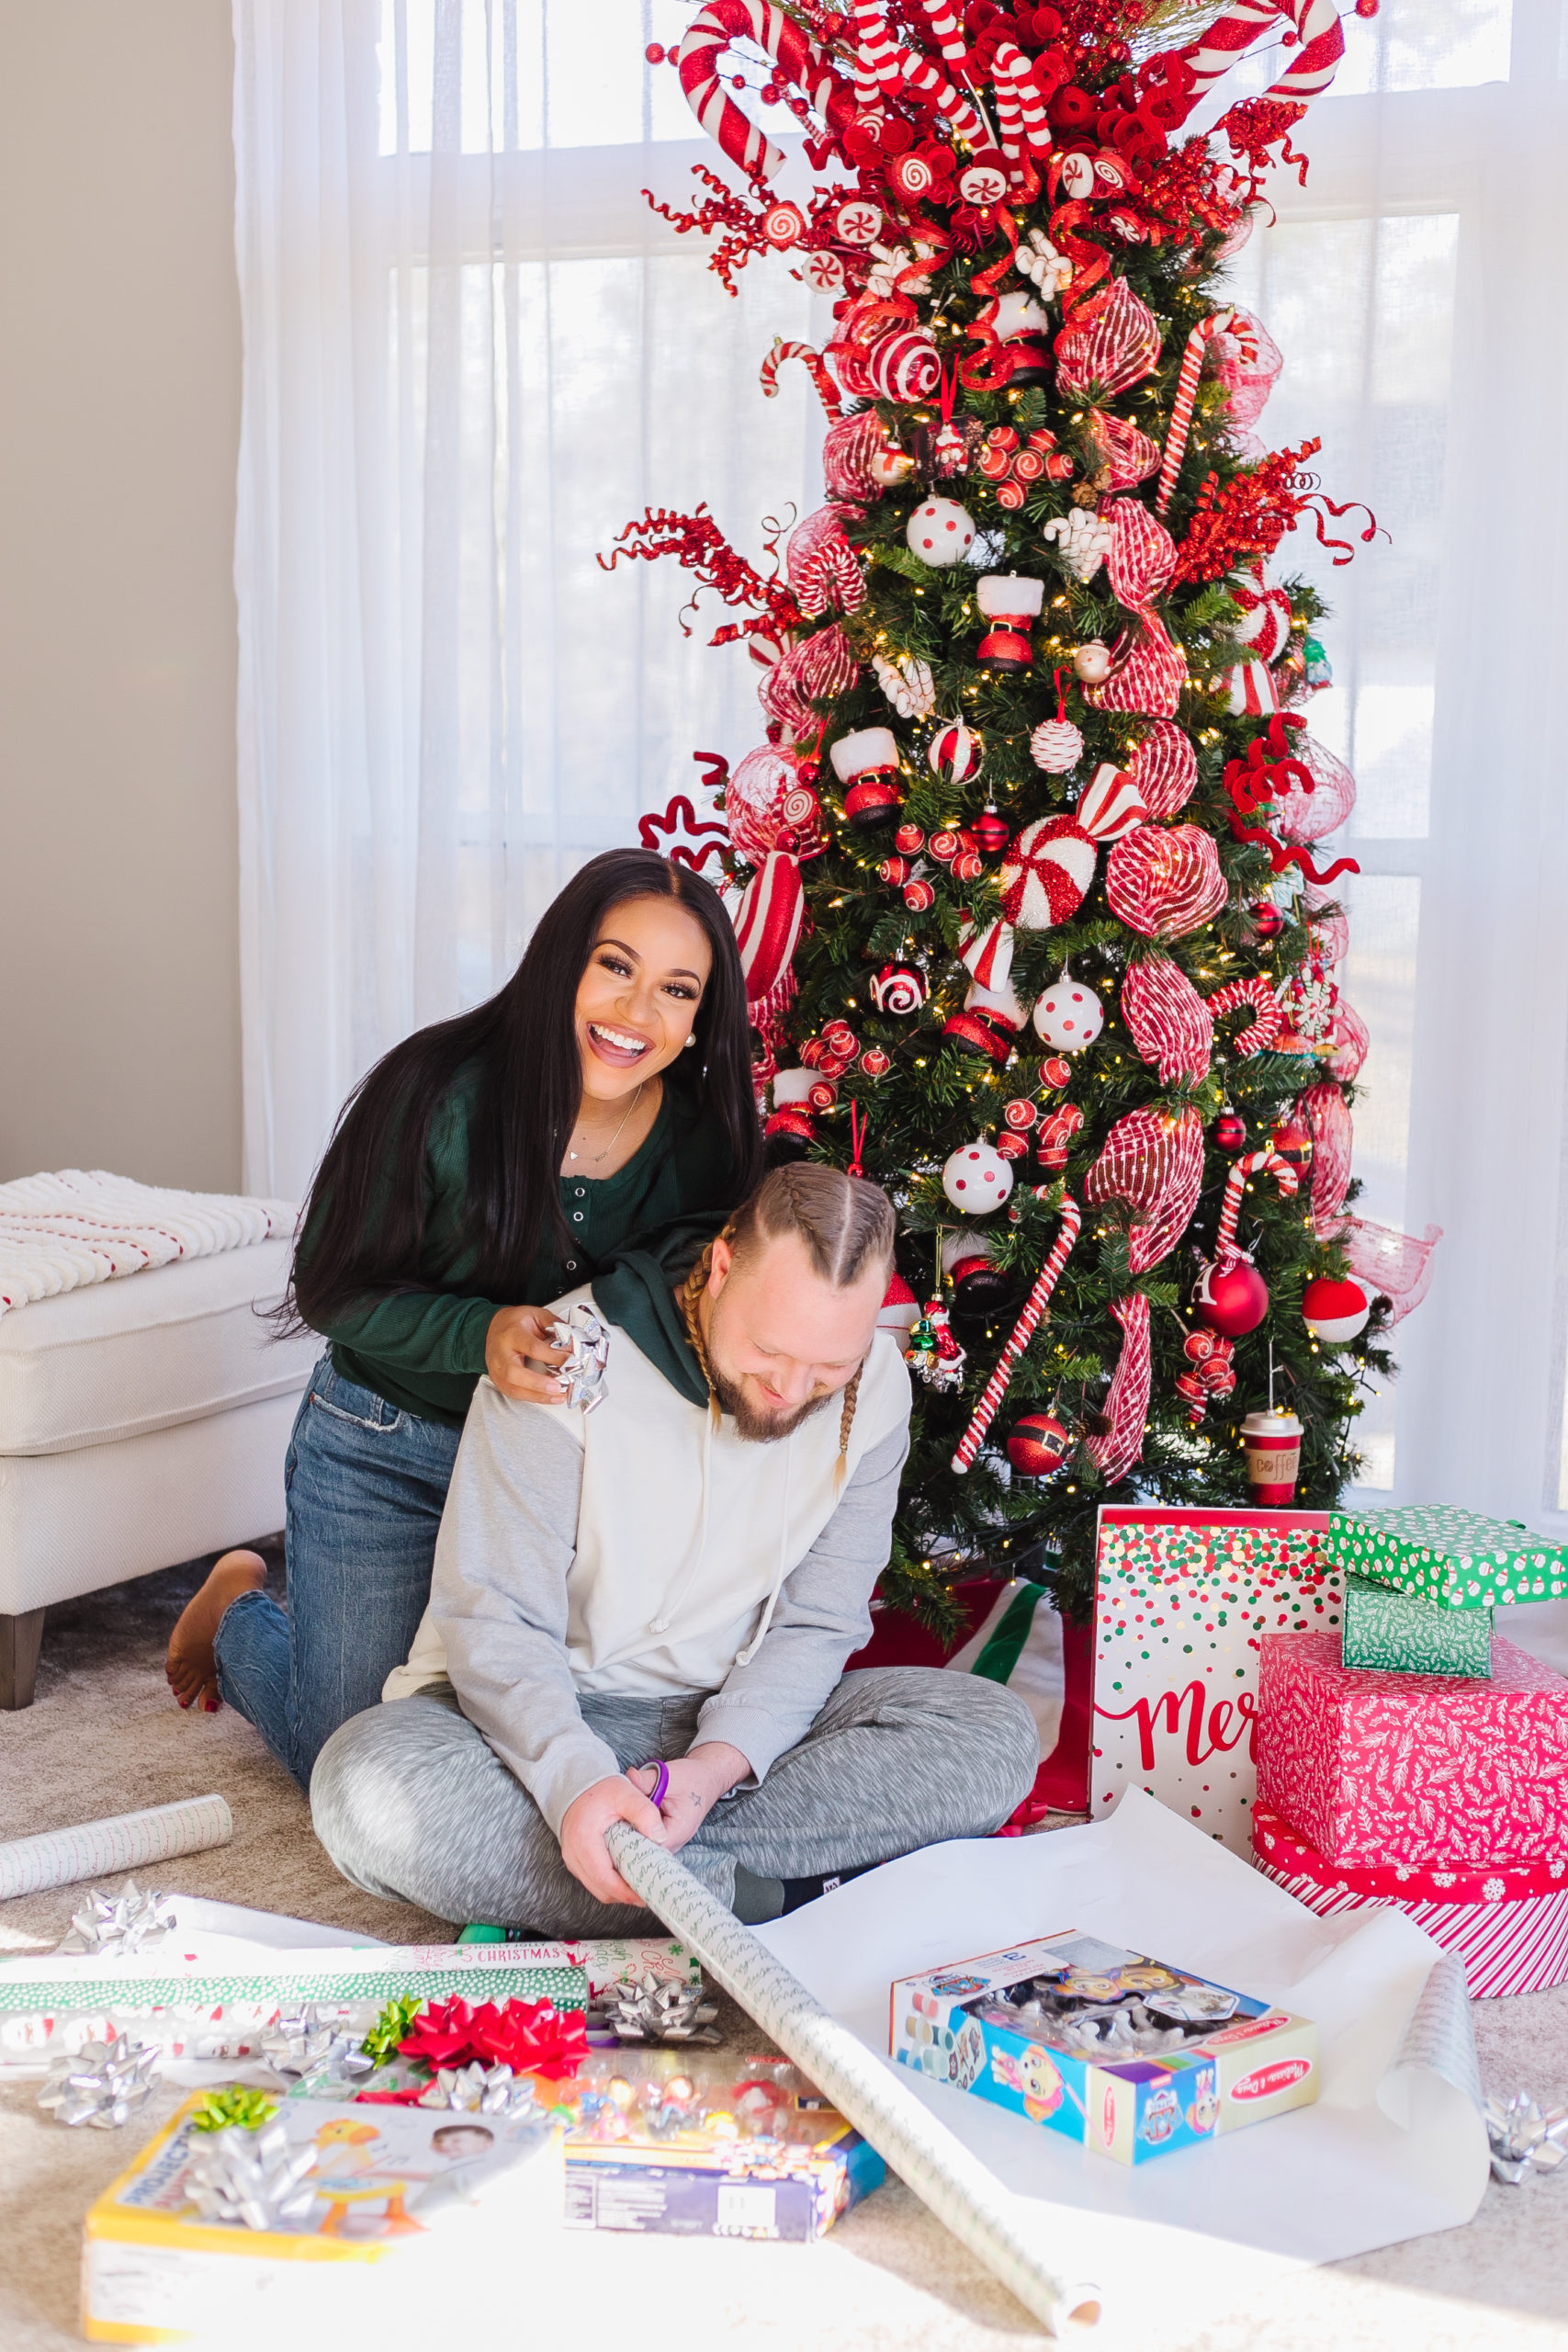
This is a great idea especially to avoid damaged gifts sent to love ones! I’ll putting gifts in gift boxes then wrapping them for now on.