
Decorating a Christmas tree is a cherished tradition that brings in the festive holiday season. Whether you’re a seasoned decorator or a first-time tree trimmer, the joy of transforming a simple evergreen into a dazzling display of holiday cheer is universal. In this guide, we’ll walk you through how to decorate a Christmas tree step by step to make your home the heartwarming centerpiece of the holiday. So, gather your ornaments, dust off the tinsel, and let’s dive into the art of creating a stunning tree that will leave everyone in awe.
How To Decorate A Christmas Tree Step By Step
Find The Right Christmas Tree
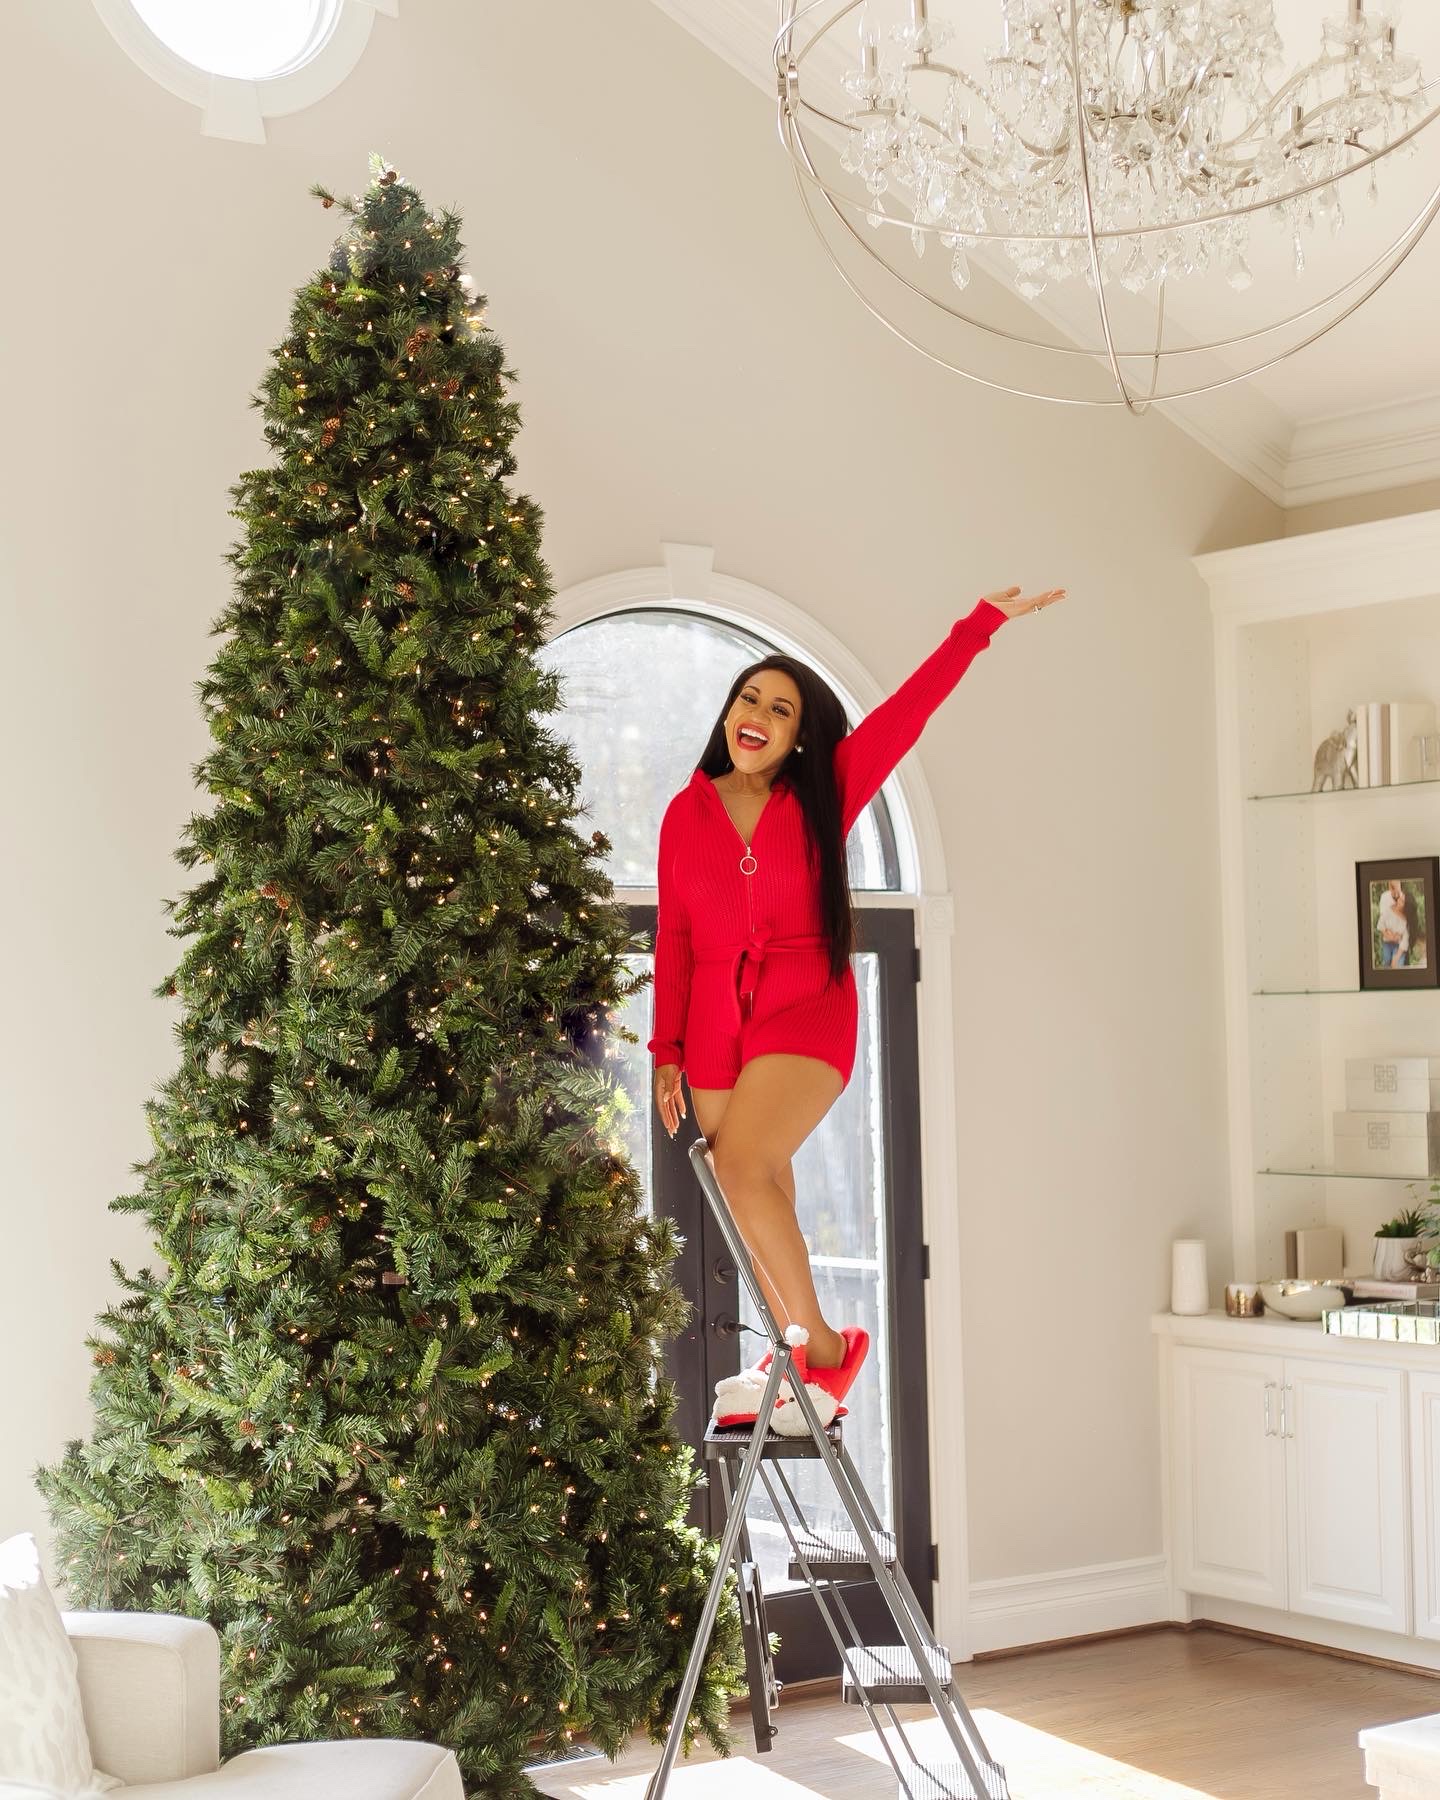
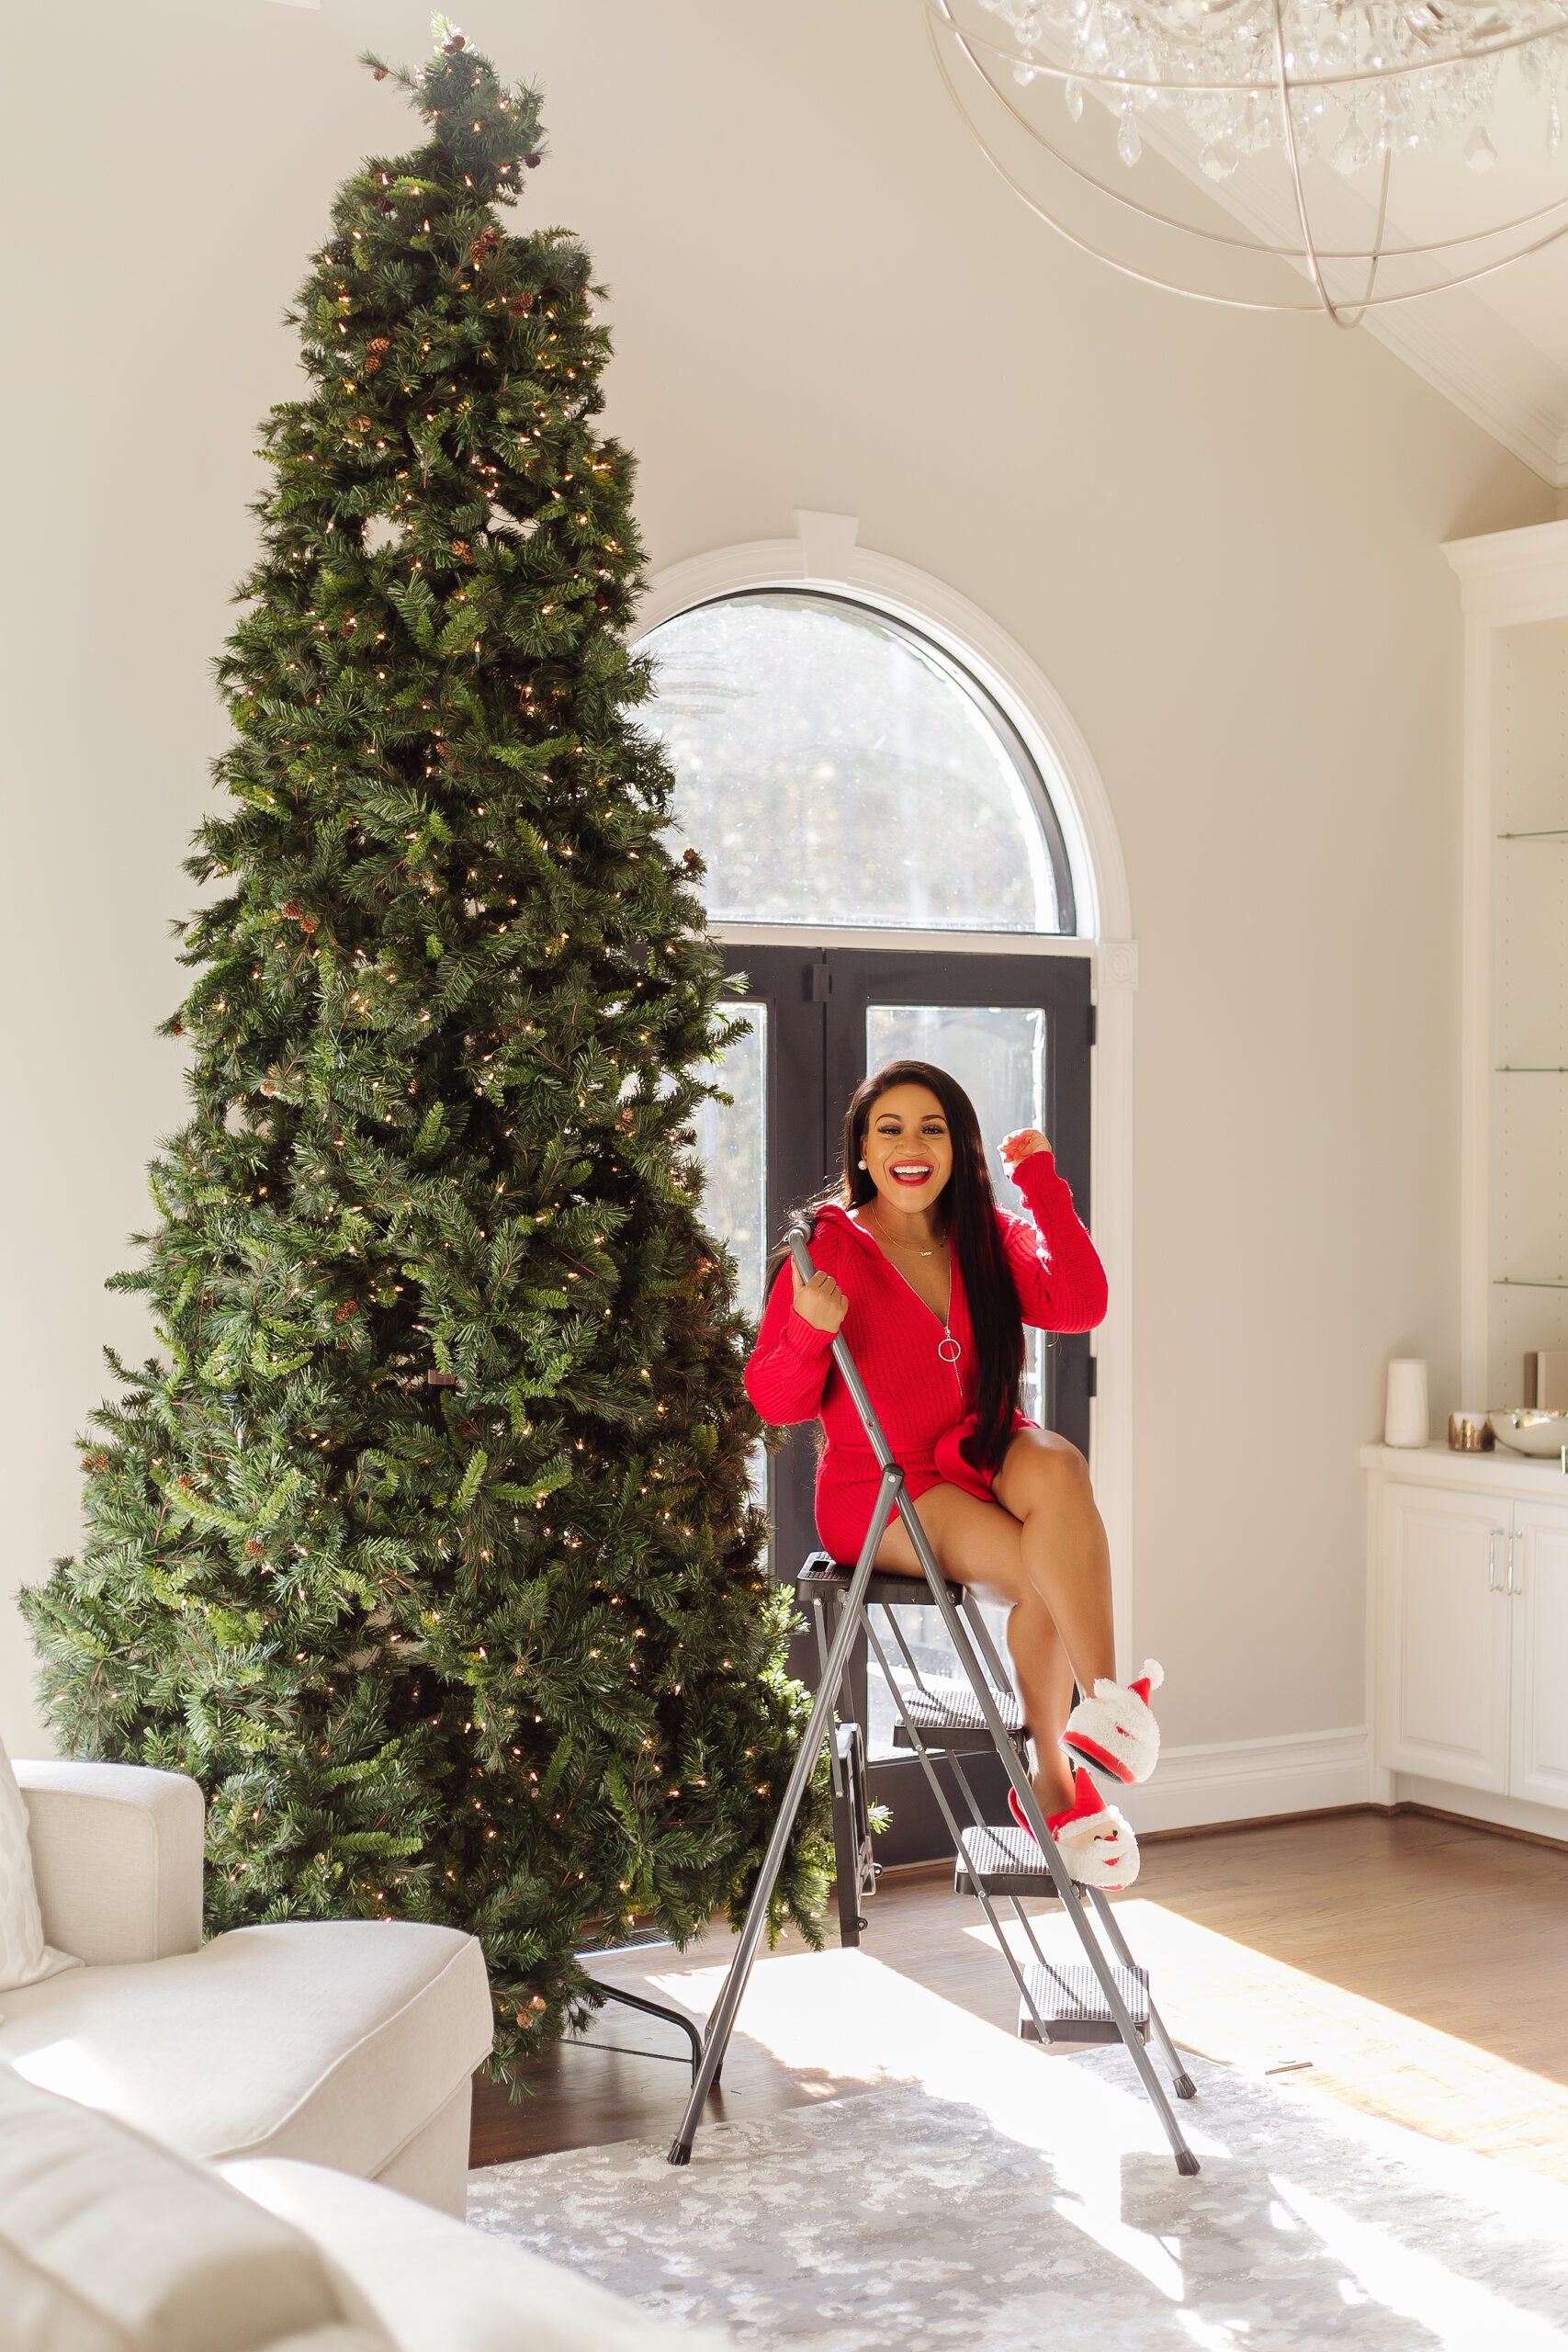
Finding the perfect Christmas tree is a delightful adventure that sets the stage for your holiday festivities. To start, you can choose between a real or artificial tree. If you’re going for the natural charm of a real tree, visit a local tree farm or nursery. Wander through the rows of trees, examining their shapes, sizes, and freshness. Give the branches a gentle shake to make sure the needles stay put. You want a tree that’s as vibrant as your holiday spirit.
If you prefer the convenience of an artificial tree, you can find a wide variety online or at your local store. Artificial trees come in various sizes, colors, and styles, so you can pick the one that suits your space and personal taste. Keep in mind that a quality artificial tree can be a long-lasting investment, bringing holiday cheer to your home for many years to come. Whether you go for the fresh scent of a real tree or the convenience of an artificial one, selecting the right Christmas tree is the first step toward creating a festive masterpiece in your home.
Layer Your Christmas Tree Skirt Or Collar
Layering your Christmas tree’s skirt or collar is a fantastic way to add depth and texture to it’s overall look. Begin by choosing one that complements your theme and color scheme. Then, place it around the base of your tree, making sure it’s centered and covers the tree stand completely. If you’re using a tree collar, ensure it’s wide enough to accommodate your tree’s base.
Next, consider adding another layer for a nice visual effect. A faux fur or burlap fabric can create a cozy, rustic feel, while a metallic or glittery fabric can add a touch of glamour. Drape the additional layer on top of the first one, allowing it to spill onto the floor. This layered approach not only enhances the overall look of your tree but also provides a stylish foundation for the presents that will soon be placed beneath it. With this simple Christmas tree decorating tip, your tree skirt or collar becomes an integral part of your tree’s enchanting holiday display.
Assemble Your Christmas Tree And Fluff The Branches Out
How to put up a Christmas tree is one of those tasks you don’t really learn until you have to do it. However, setting it up and arranging its branches is a key part of creating a festive and inviting holiday centerpiece. To start, unpack all the tree components in a spacious area, ensuring you have everything you need. If you’re working with an artificial tree, follow the manufacturer’s instructions to assemble it. Typically, you’ll begin with the base and then add each section, securing them tightly. Check that the tree stand is stable and properly positioned.
Once your tree is assembled, it’s time to give it that full and well-balanced appearance. Begin at the bottom and work your way up, gently fluffing out the branches. Extend each branch and bend the tips slightly to create a lush and symmetrical look. Take your time to ensure all the branches are evenly spaced and facing outward. Properly arranging the branches not only enhances the tree’s overall charm but also provides lots of space for ornaments and other decorations. Following these steps on how to arrange a Christmas tree will leave you with the perfect canvas, ready to decorate with festive holiday joy.

Choose A Theme And Stick To It
If you’re wondering how to decorate a Christmas tree professionally, the first step is to choose a theme and stick to it. It can make the difference between your tree looking like a department store window display or a craft project gone very wrong. Start by selecting a theme that represents you and your family, whether it’s traditional, rustic, elegant, or whimsical. Once you have your theme in mind, gather decorations and ornaments that fit the chosen style, including color schemes, patterns, and specific motifs. Consistency in your theme will give your tree a polished and professional look, creating a cohesive and visually appealing centerpiece for your holiday celebrations. Remember to let your creativity shine within the boundaries of your chosen theme, adding unique and personal touches that make your Christmas tree truly one-of-a-kind.
Decorate With Different Textures
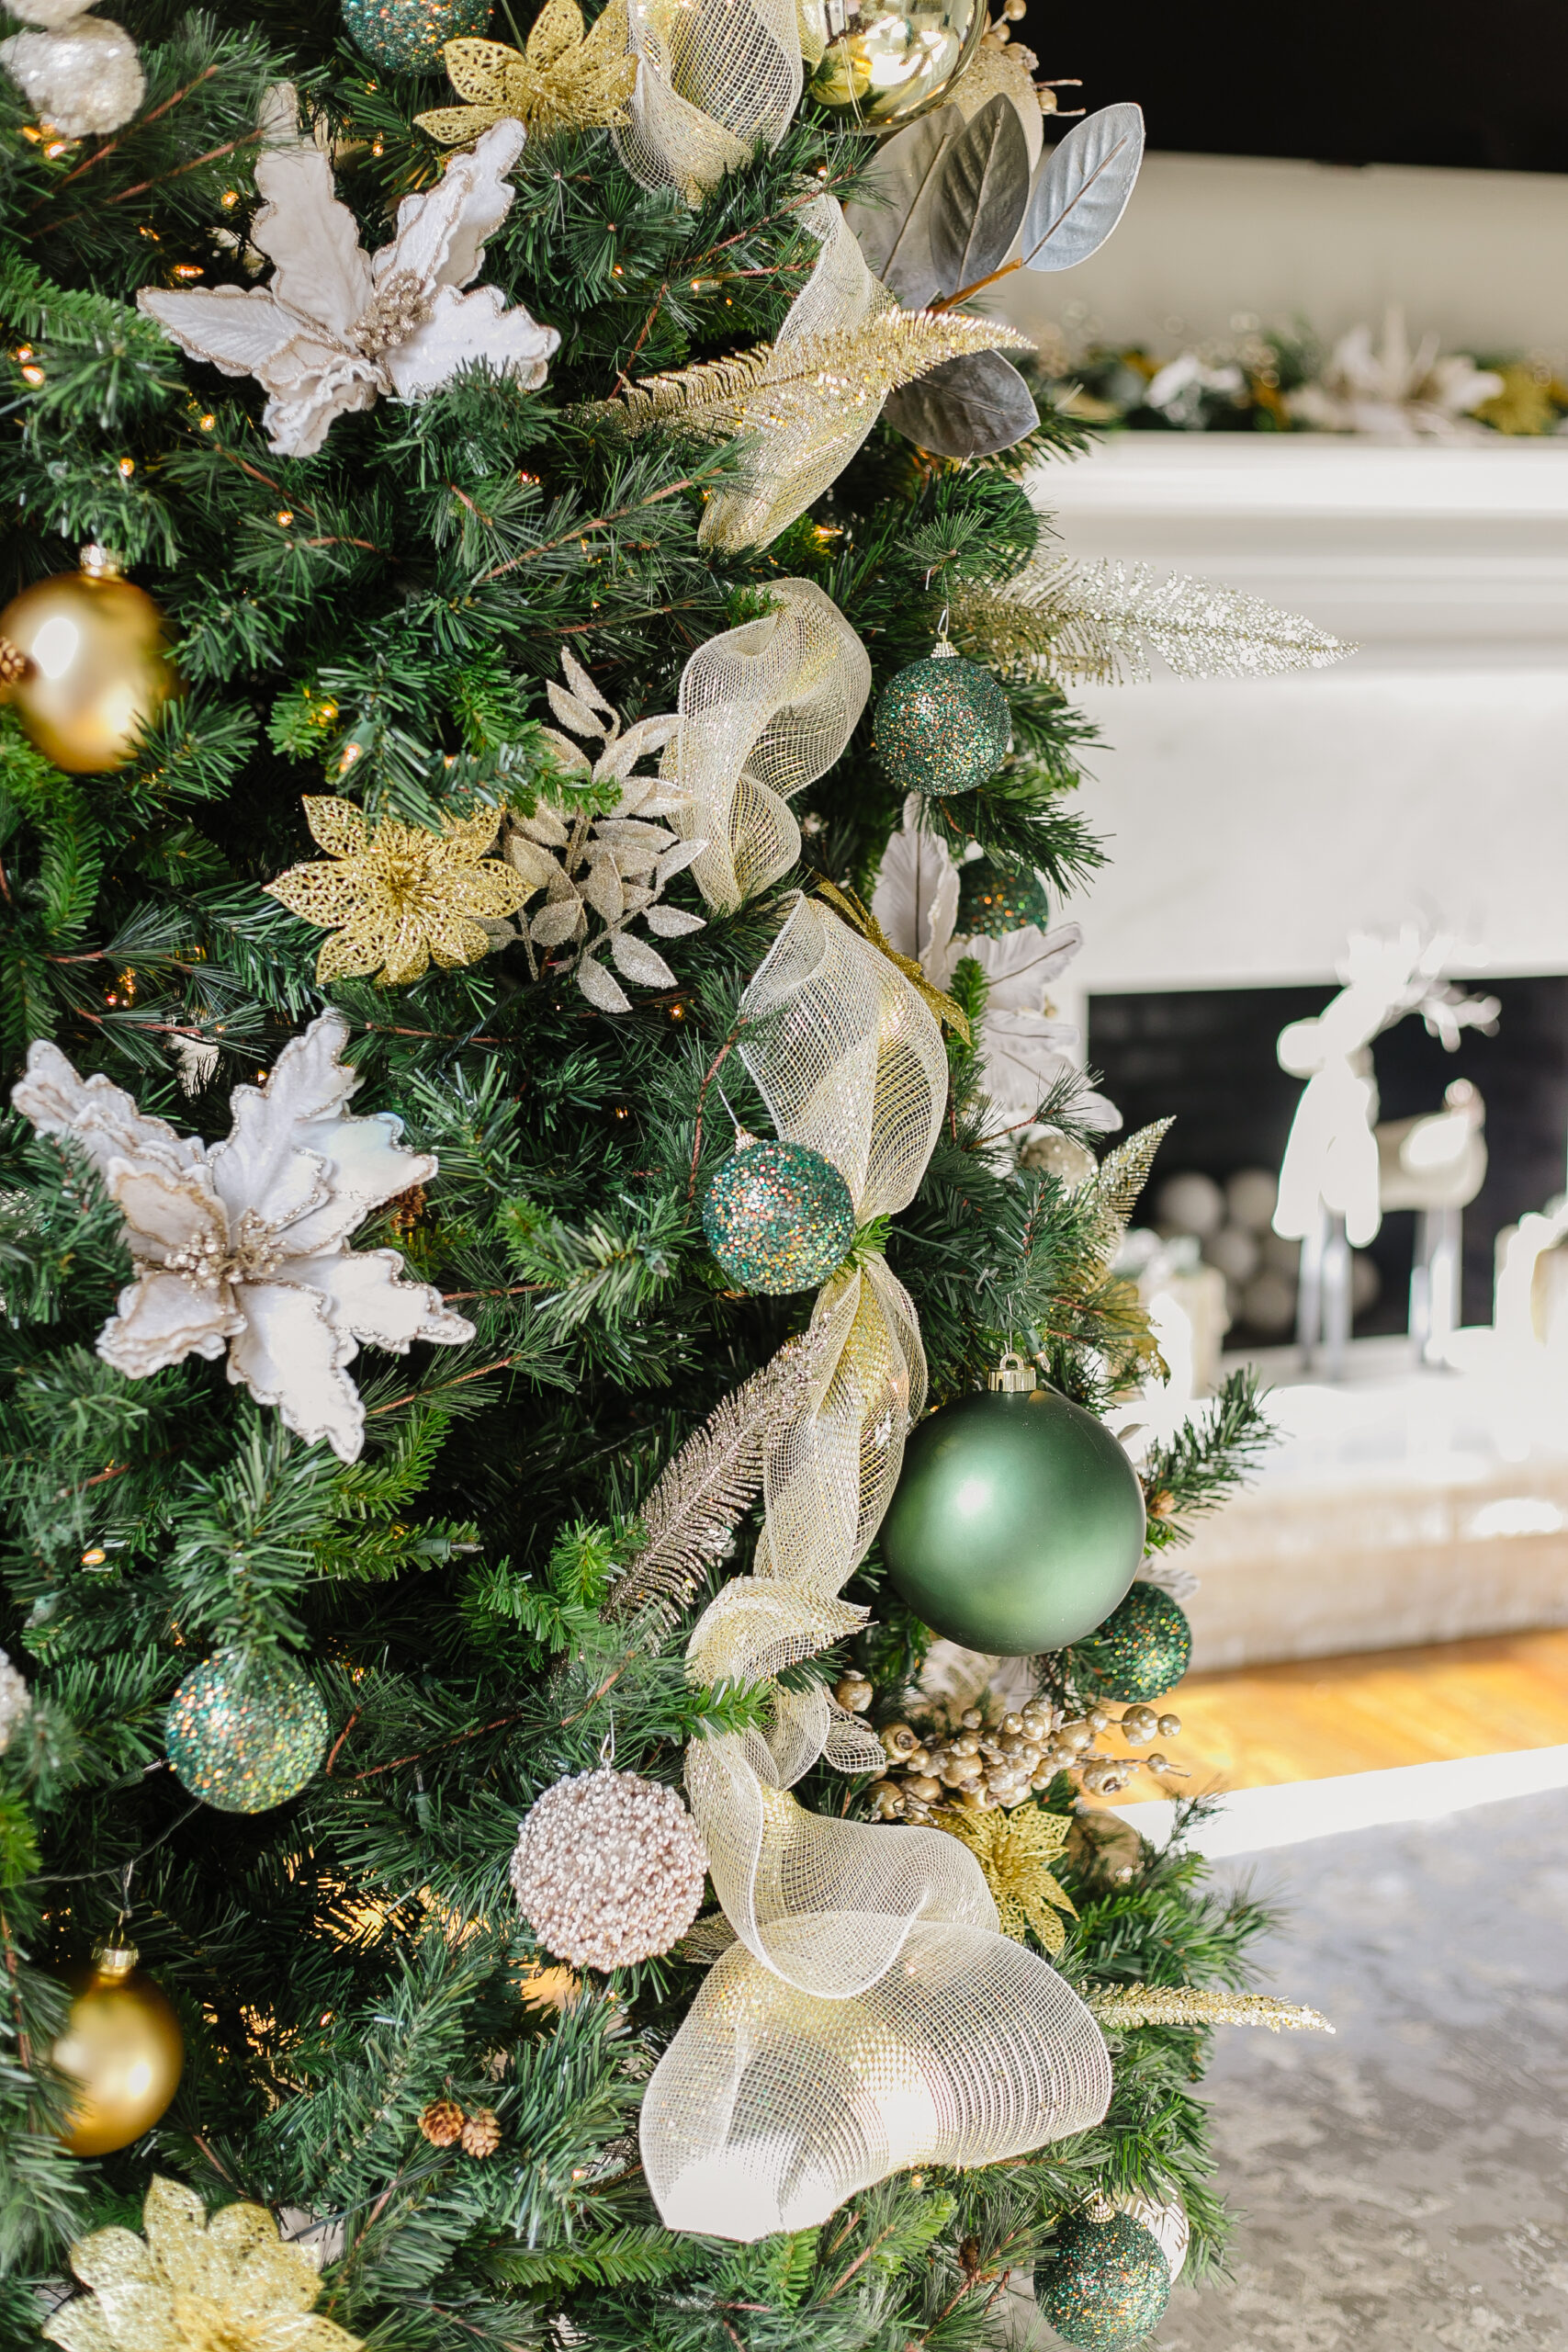
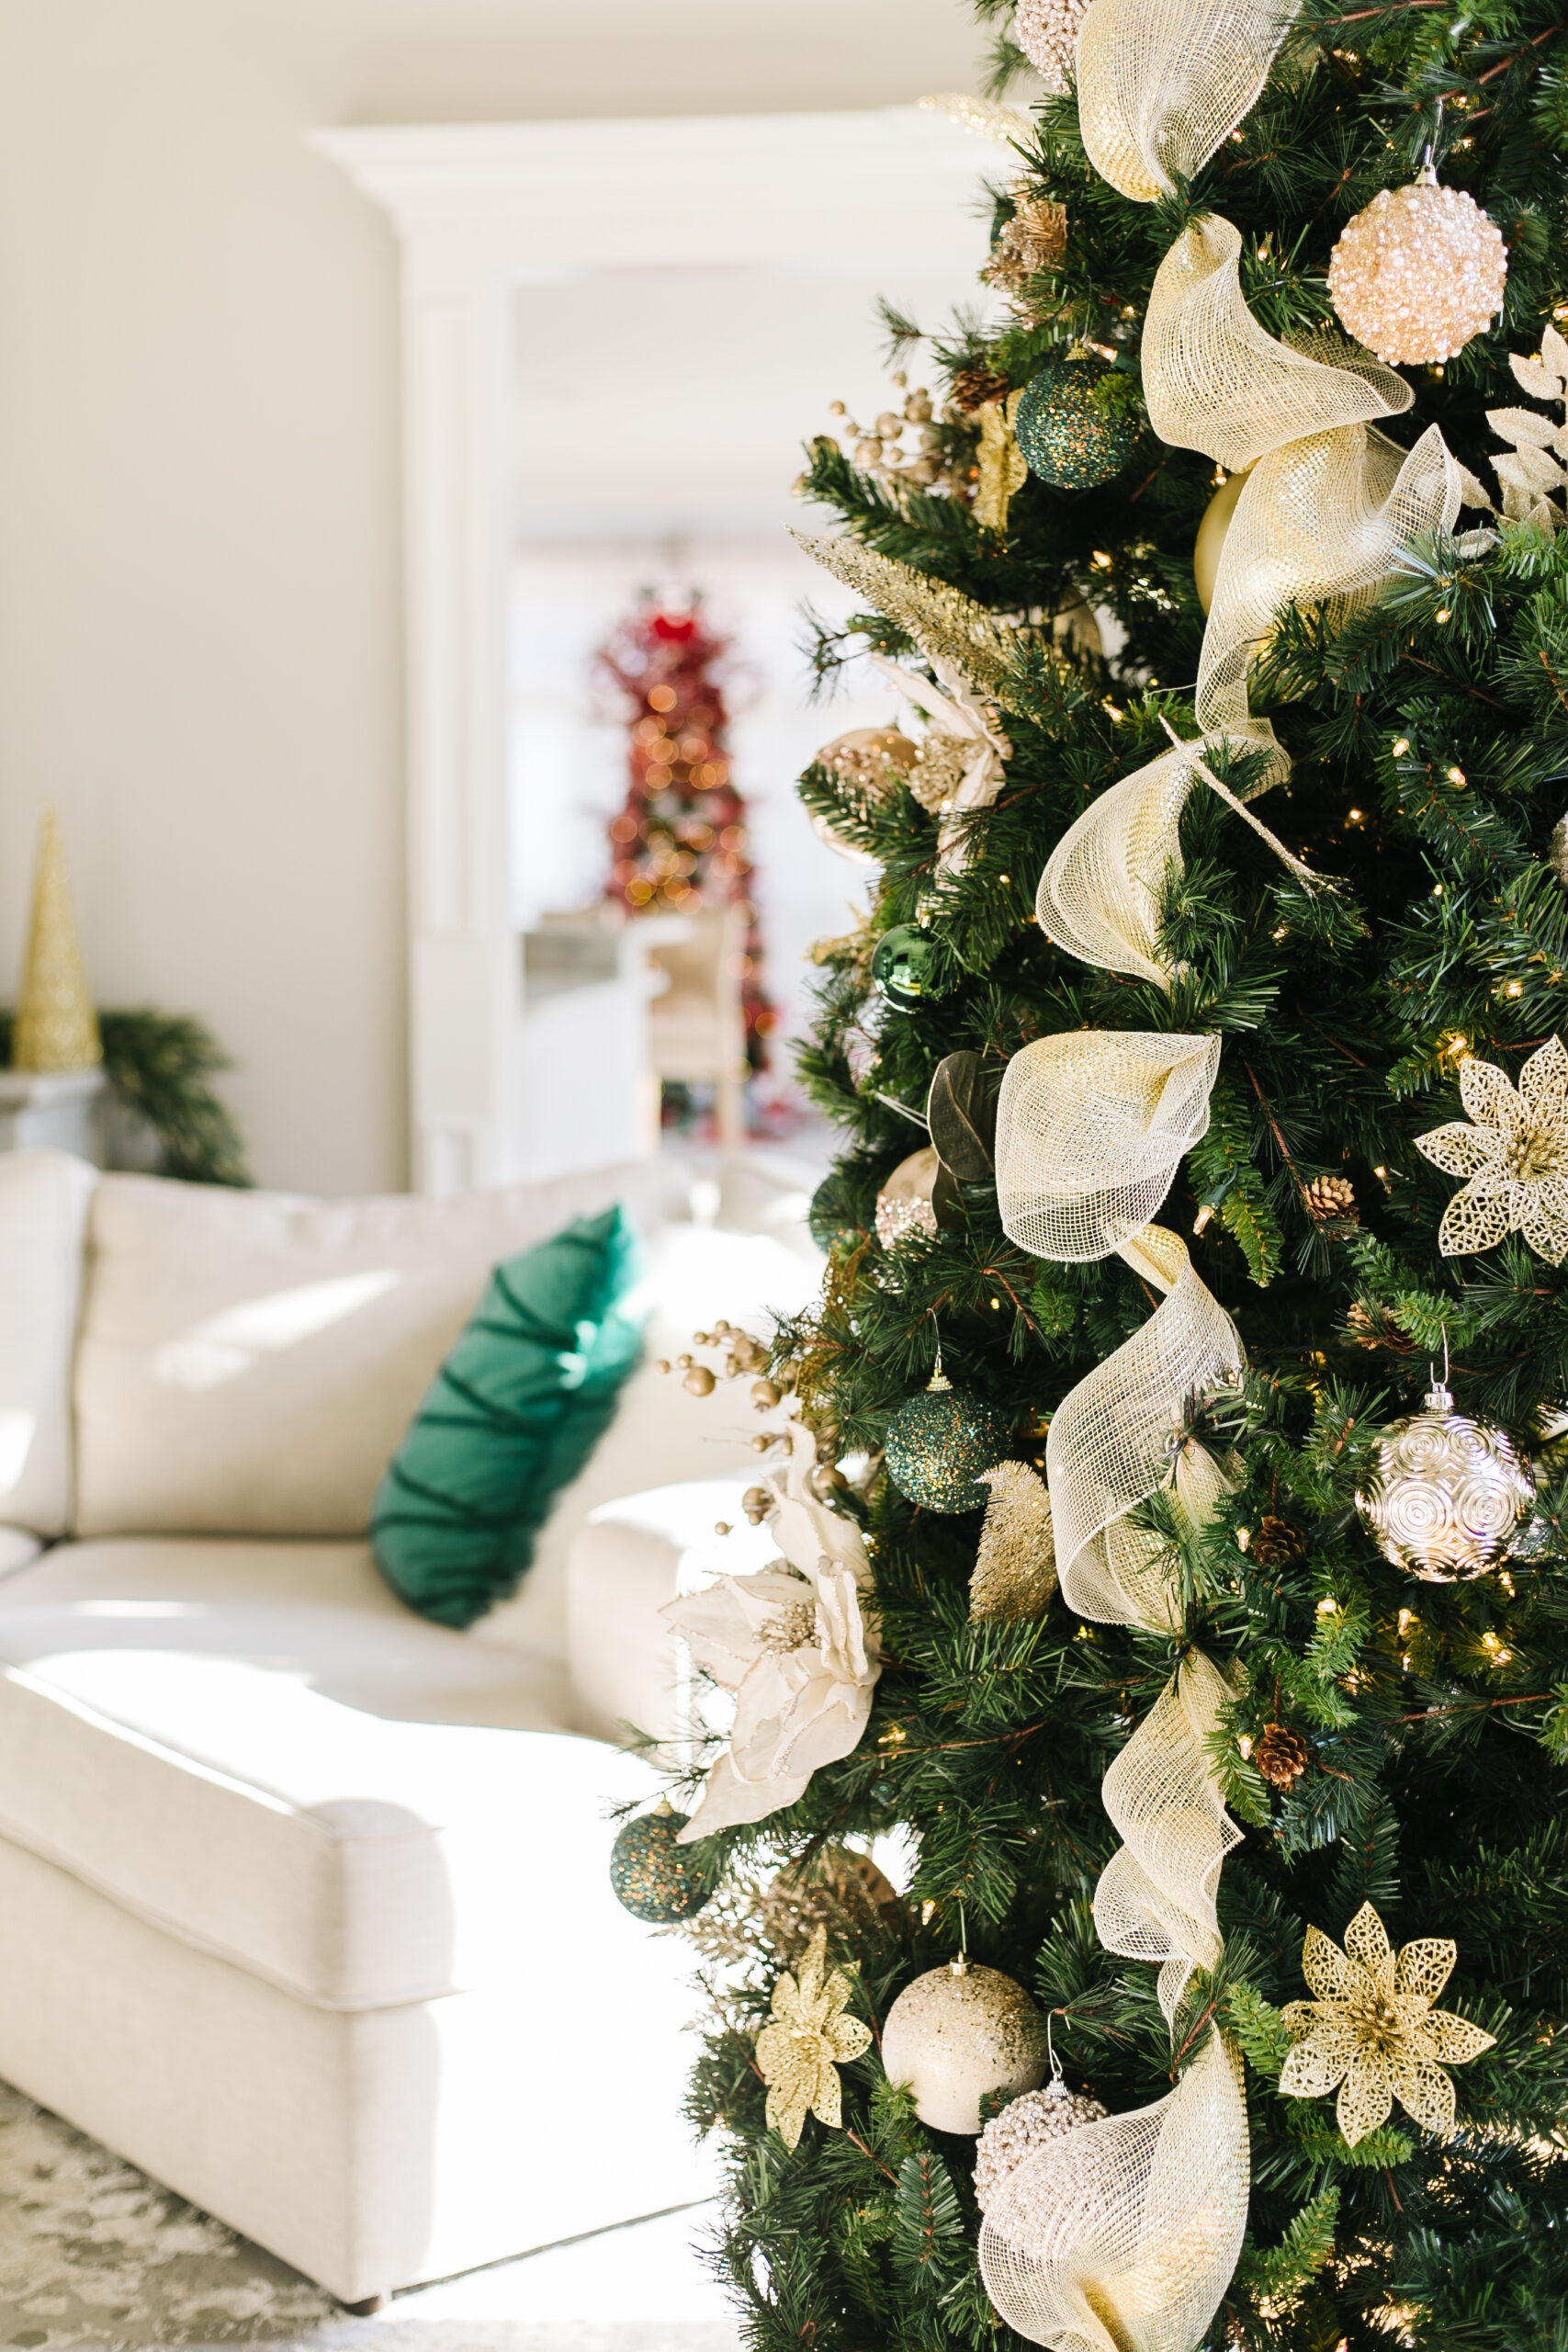
One major concern people usually have is how to decorate a Christmas tree to look full and inviting. Adding a variety of textures is the most clever strategy I’ve learned. Here’s the order that works best for me: Start by adding the lights first, especially if your tree isn’t prelit. The lights will create a warm and inviting glow that sets the stage for the rest of your decorations. Next comes the ribbon, which should be strategically draped or wrapped around the tree, allowing it to cascade gently and create depth. After the ribbon, it’s time to introduce ornaments with different textures. And one of the best ways to add dimension to your tree is to mix shiny and matte finishes as well as various shapes and sizes.
But it’s not just about the ornaments. If you want to achieve a well-balanced look, add some flower picks among the ornaments. These can be faux flowers, berries, or even pinecones. The pops of color and texture from the flower picks will contribute to the tree’s overall fullness. Once you’ve added all your flair, it’s time for the pièce de résistance—the tree topper. Crown your tree with a beautiful topper that complements your chosen theme. Whether it’s a star, an angel, or another unique creation, the topper is the finishing touch that adds personality and character to your perfectly decorated Christmas tree. By following this order and mixing textures, everyone will want to admire its beauty.
What Is the Best Way To Put Decorations On A Christmas Tree?
When decorating a Christmas tree to achieve a full and balanced look, it’s important to pay attention to a few important details. First, make sure that your ornaments are securely attached to the branches to prevent them from slipping or falling off. Using ornament hooks or hangers can help keep decorations in place. Secondly, avoid overcrowding the tree with too many ornaments, as this can make it look cluttered and overwhelm the branches. Instead, aim for a balanced distribution of ornaments, leaving enough space between them to create an organized and visually pleasing arrangement.
Also, be cautious about not compromising the tree’s overall structure. Avoid placing heavy or oversized ornaments on delicate branches that may bend or break under the weight. Instead, choose sturdier branches for these ornaments to maintain the tree’s stability and ensure it remains upright throughout the holiday season. You’ll want to avoid seeing your beautiful tree topple over because it’s too heavy.
How Do You Fill Gaps On A Christmas Tree?
Once you’ve added all your decorations, look for areas of the tree that feel empty. For small spaces, start by tucking in extra ornament hooks or hangers between the branches. Another trick is to use garlands or strands of tinsel to drape gracefully across the tree, filling gaps while adding a touch of sparkle. Additionally, consider using tree picks or sprays that match your theme to fill in larger spaces and maintain a cohesive look. These simple techniques will help ensure your tree looks lush and complete, making it the perfect centerpiece for your holiday festivities.
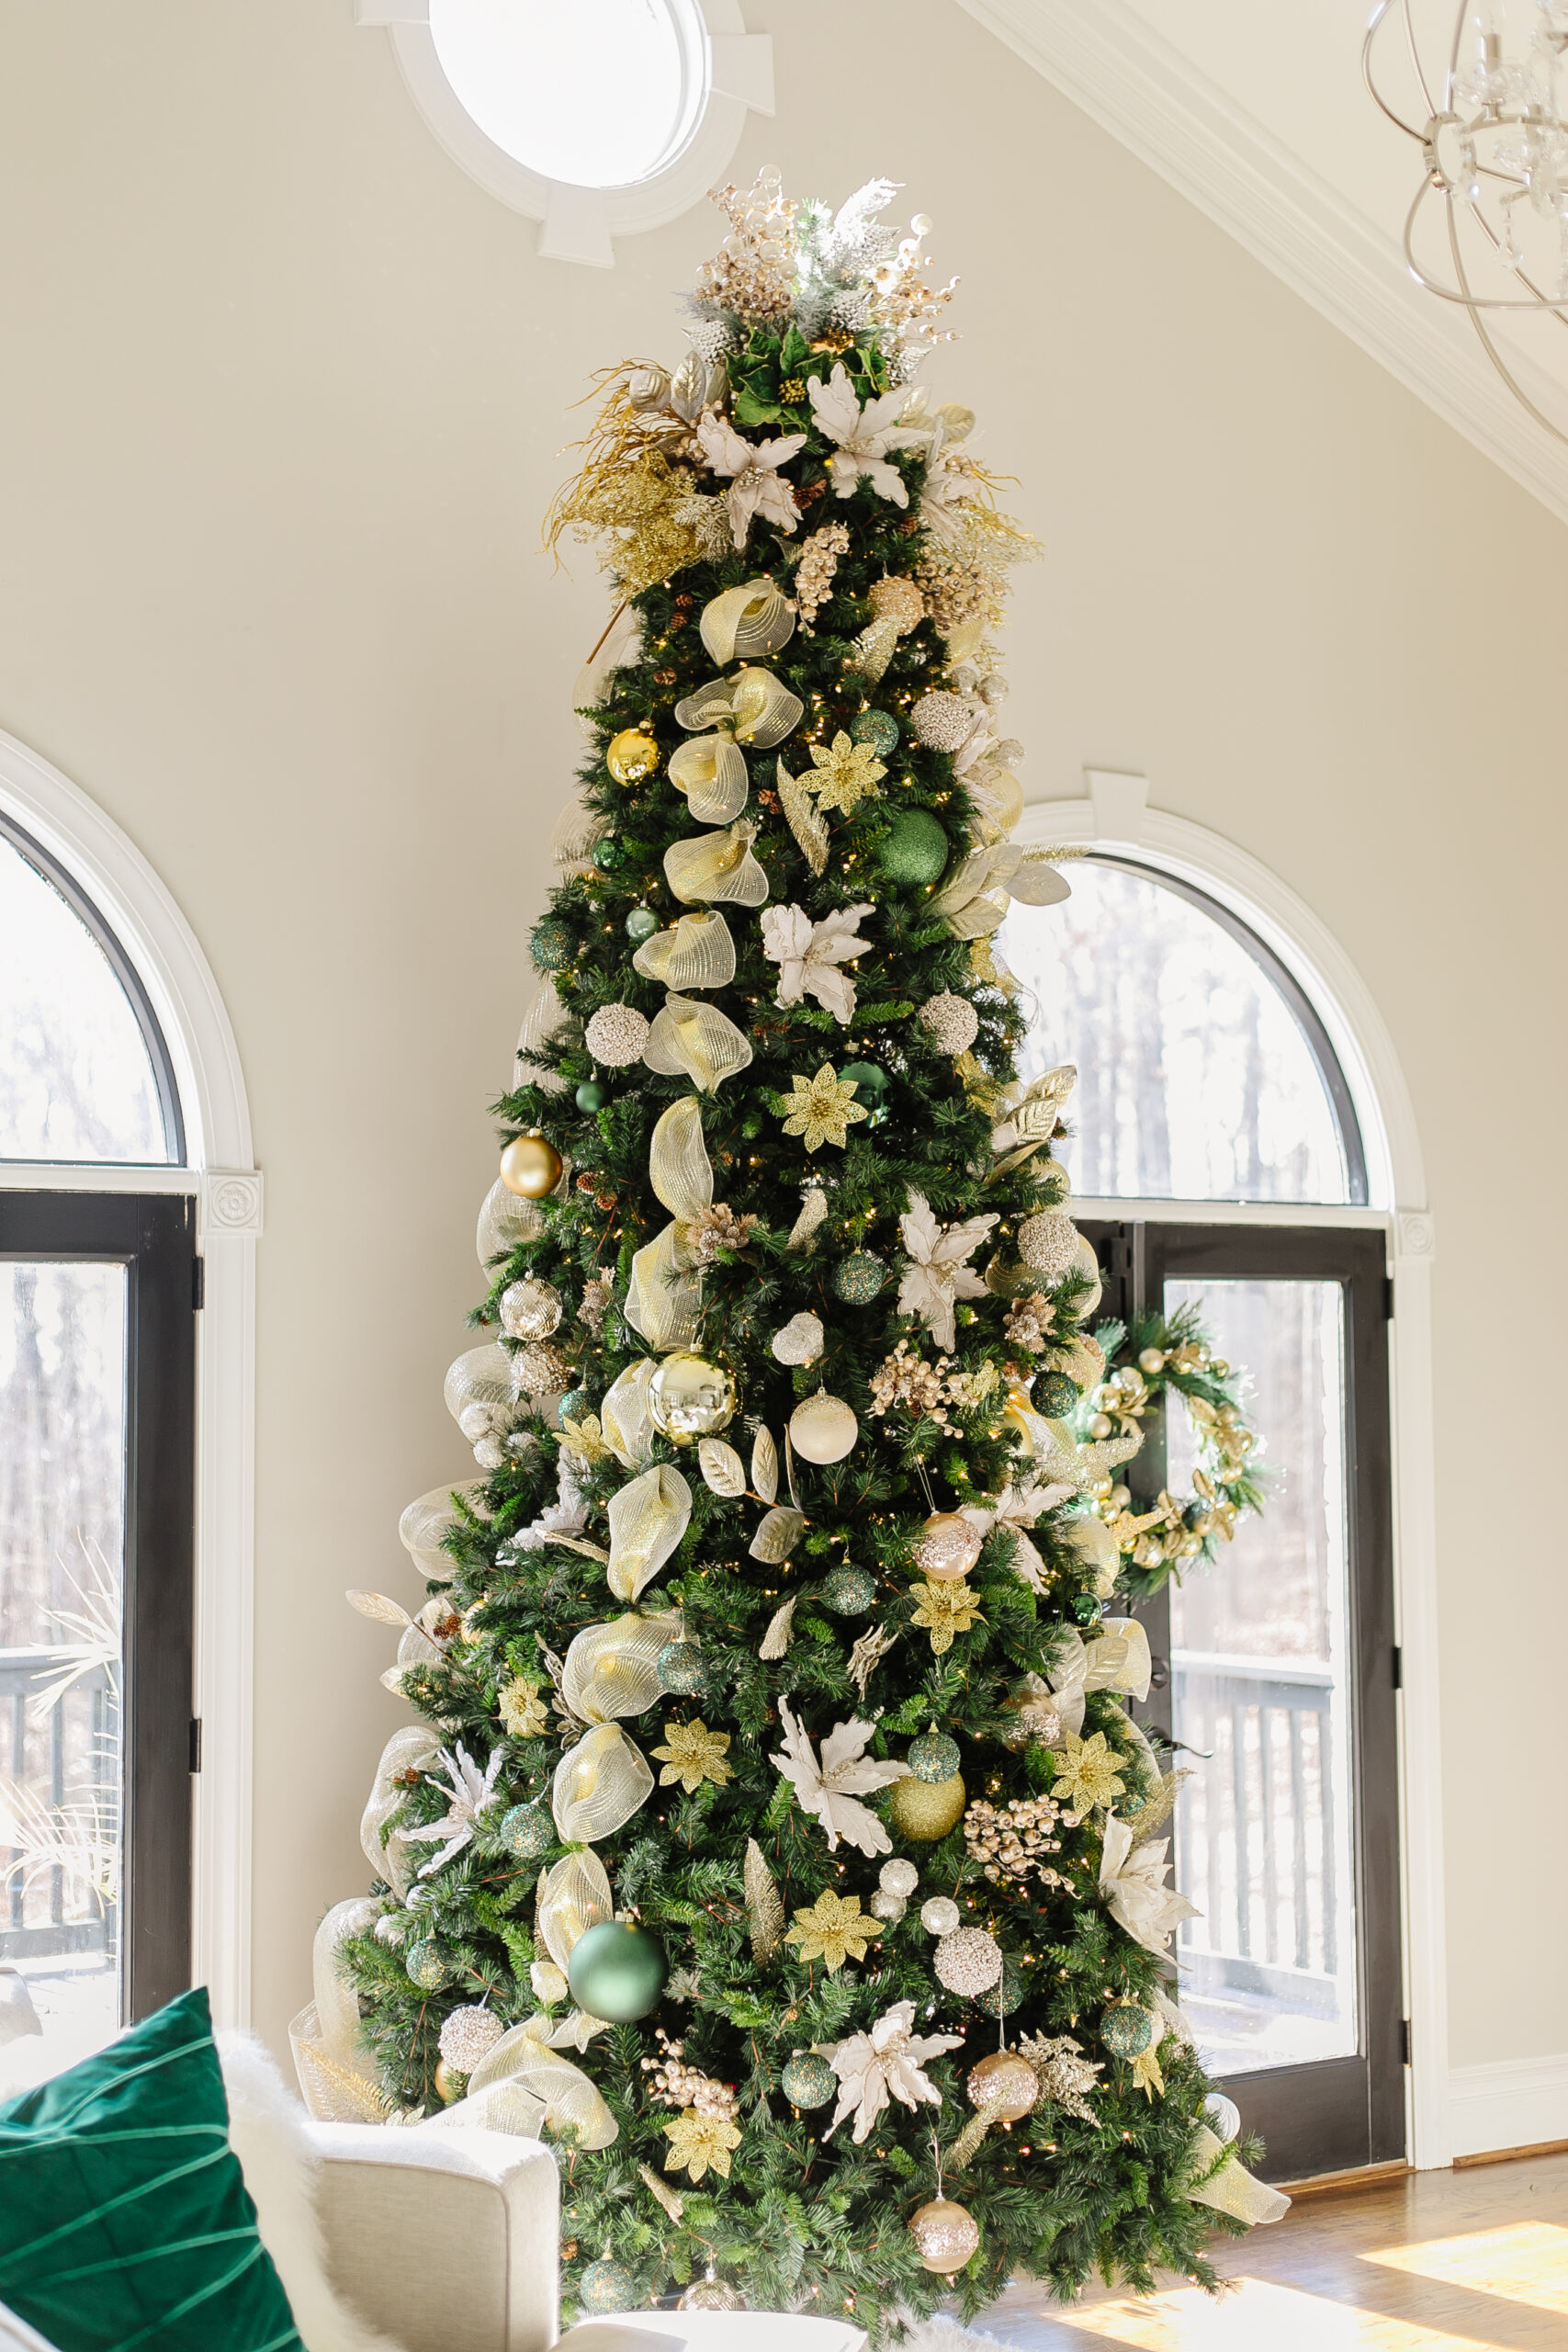
As you prepare to decorate a Christmas tree that radiates warmth and love this season, remember that there’s no one-size-fits-all approach. Let your creativity shine, and don’t be afraid to experiment with different decorations, themes, and styles until you achieve the perfect look. Whether you prefer a classic and traditional tree or a whimsical and modern one, the key is to enjoy the process and make memories that will last a lifetime. With these step-by-step tips, you’re well on your way to creating a beautifully decorated Christmas tree that will bring joy and cheer to your home during the holiday season. Happy decorating!
Love this post? Here’s how I decorated my living room for fall!

View comments
Leave a comment